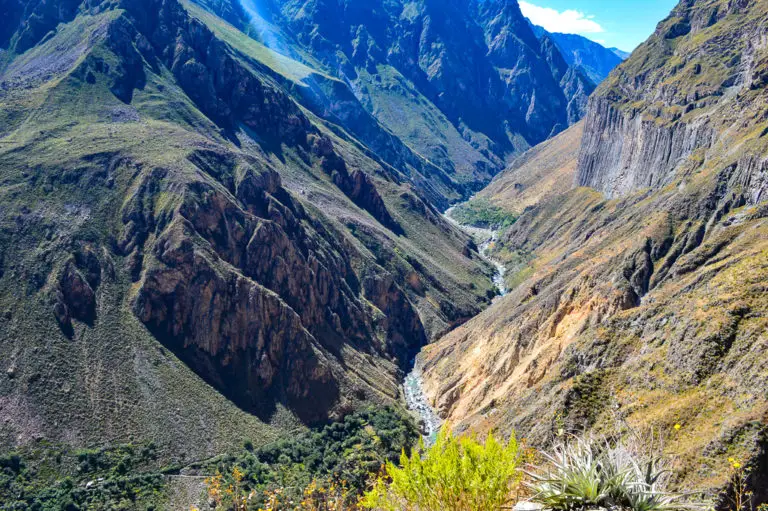
Most people have heard of the famous Grand Canyon in Arizona. It is one of the world’s most popular natural sights, attracting an incredible 5+ million tourists a year. Yet not many people have heard of the Colca Canyon, situated some 4,422 miles away in the pre-Inca region of Arequipa, Peru.
I admit, I too had never heard of it until I arrived to Arequipa itself. But you should; the Colca is in fact incredibly over two times deeper than its American rival, boasting an elevation of 11,500ft above sea level.
That being said, you can imagine that these conditions pose a challenge for even the fittest of adventurers endeavouring to hike it (let alone someone like me who was drastically ill-prepared).
The Colca Canyon hike was one of the most beautiful I’ve ever done and it should definitely be factored into your Peru itinerary.
However after claiming the title of the most disastrous (and not to mention most physically/mentally draining) trek of my life, I learnt there are definitely some things you should (and more to the point, should not) do.
So, if you’re planning on visiting, here’s everything I learnt and some tips to take away for your own Colca Canyon hike.
*This post may contain affiliate links meaning should you purchase a product via this link, I’ll earn a small commission at no extra cost to you. See my privacy and disclosure policy for more.*
1. Invest in a Group Tour
Although the Colca Canyon hike is pretty tough, you can actually do it without a guide. You will however need to be prepared to put in some serious planning beforehand.
For me as a solo traveller, it was a much easier option to have everything, such as the transport and accommodation, pre-arranged. There are plenty of tour agencies in Arequipa offering group packages all for a similar cost. Having met people on the way who were alone and faced various dramas, I was grateful I booked with a tour.
If you decide to go without a tour group, the first hurdle you have to face is the public transport to the start of the track. You will need to take a red-eye taxi to the minivan terminal heading to Chivay and once at Chivay, take a collectivo minibus (which will only leave when full) to Cabanaconde. From there you then have to get to the start of the trail. This alone will take about 6+ hours. A direct tour minibus is so much more convenient.
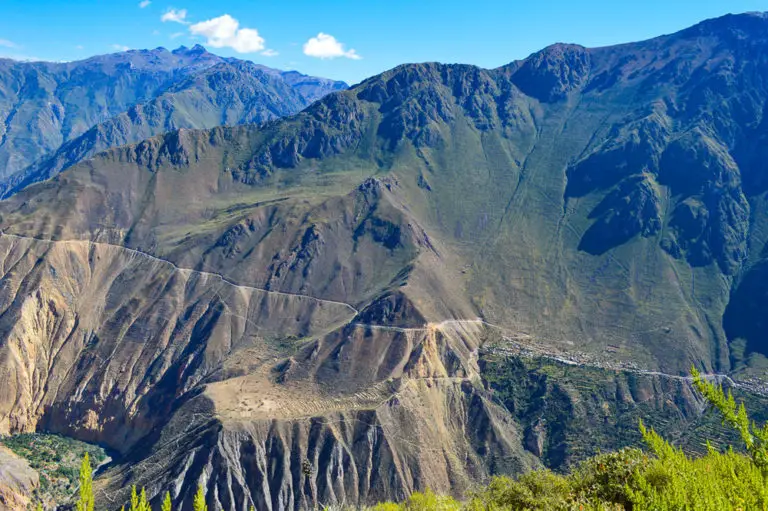
Essentially, if you go without a guide you need to do the hike in three days and two nights as it take practically a full day to get there.
As much as I hate being that person on a group tour, sometimes they just make sense and in this scenario, forget the planning and enjoy the spectacular walk!
If you want to do the hike independently, make sure you go to the tourism office in Arequipa for advice on how to do it and grab handfuls of maps and schedules.
2. Don’t Rush the Hike In 2 Days if You Have Time
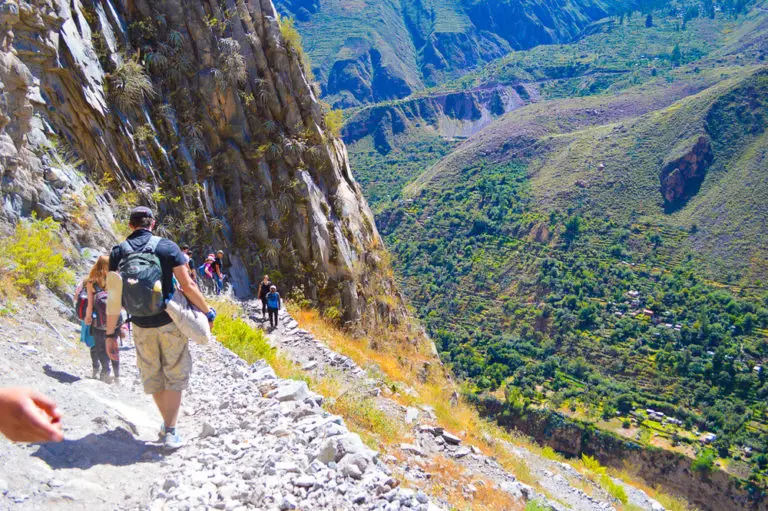
You have the choice of booking the Colca Canyon hike for two days one night or three days and two nights. You stay at homestay-style accommodation within the canyon oasis which is a truly amazing experience.
Having already hiked in Chile, Brazil and Bolivia as part of this trip, I was pretty confident my fitness levels were top notch. Considering it the perfect warm up for Machu Picchu later that week, I chose the faster and more intense hiking option of two days, despite having a leisurely amount of time.
This was probably the first mistake I made. The fact that it can also be done in three days indicates that by doing it in two it may be rushed and quite frankly, hard work. Turns out this was the case!
I was walking fast the whole time yet I still managed to trail behind at the back of the group. I was rushed for photos and the dusty dryness of the air burnt my chest with every breath. Turns out I was not as fit as I thought!
Of course doing the hike in two days instead of three is also cheaper. You not only save money on an additional night of accommodation, you are saving on paying the guide for an additional day and also three more meals. Considering I’m stingy, that was definitely another reason why I chose two days. However when the going got tough, it was definitely something playing on my mind!
If you do have the time and aren’t super fit, I’d perhaps consider choosing the three day trip over two.
3. Avoid A Late Night Prior
OK, this may seem like an obvious point before a big hike, but the nightlife of Arequipa may persuade you otherwise.
On the way home from dinner our group walked past a bar with an offer on pisco sours. The rest is obvious, but the 03:00am wake up is painful regardless of more than two hours sleep or not.
I can assure you the bumpy bus journey in the pitch dark to Chivay, is three long hours of hell with a queasy stomach – just don’t do it!
4. Pack a Telescopic and Wide Angle Lens
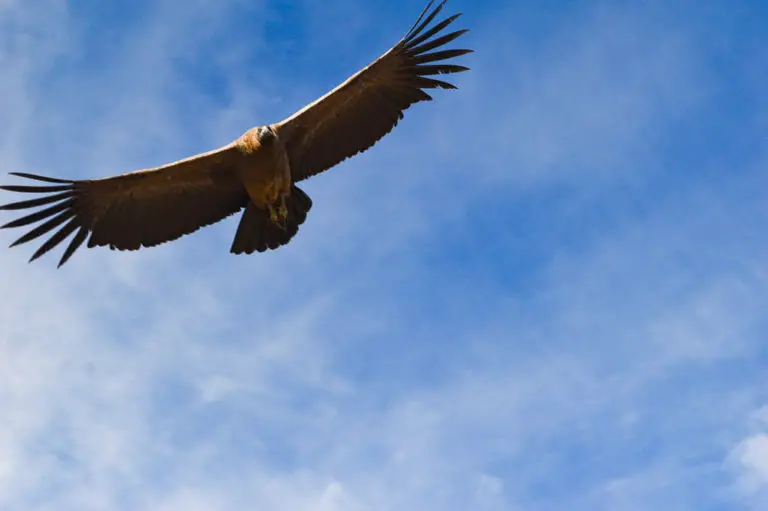
Once you have paid your 70 soles entry fee to the park and have had breakfast in Chivay, the first stop on the tour is ‘Cruz Del Condor’. As the name suggests it’s the hang out of the world’s largest bird, the Condor.
These magnificent birds glide on the wind tunnelling through the canyon but rarely come close to the viewing area where the mass of people stand. I frustratingly had a 18-55mm lens which was just not good enough to zoom in to capture these mesmerising birds.
On a complete fluke, one did fly directly above me and I managed to get a half decent shot, but all the others apart from this look like a little blob in the sky.
Having a telescopic lens to capture these wonderful species free and happy in the wild is, in my opinion, really worth it.
I have since invested in a 18-250mm Sigma lens for my Nikon D3200 (which is also available with a Canon mount). It is a great value all rounder and ideal for wildlife photography like this.
On the other hand, the landscape of the canyon is a truly unique Andean spectacle.
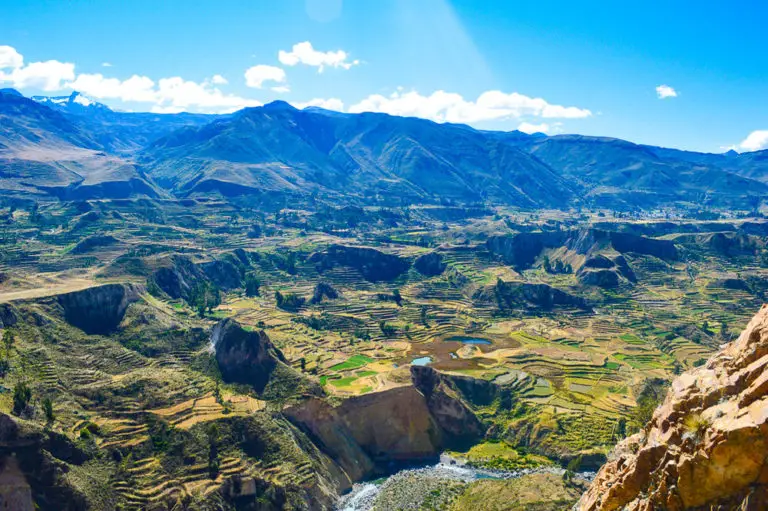
Pre-inca rice terraces and fields are carved into sharp, rocky mountains that are both arid, yet green with thriving vegetation. A wide angle lens would be perfect for snapping shots in the canyon to capture the sheer scale of this natural wonder.
There is the issue of the additional weight but if you’re into your photography then two lenses are worth it.
5. Prepare for Pain(!)
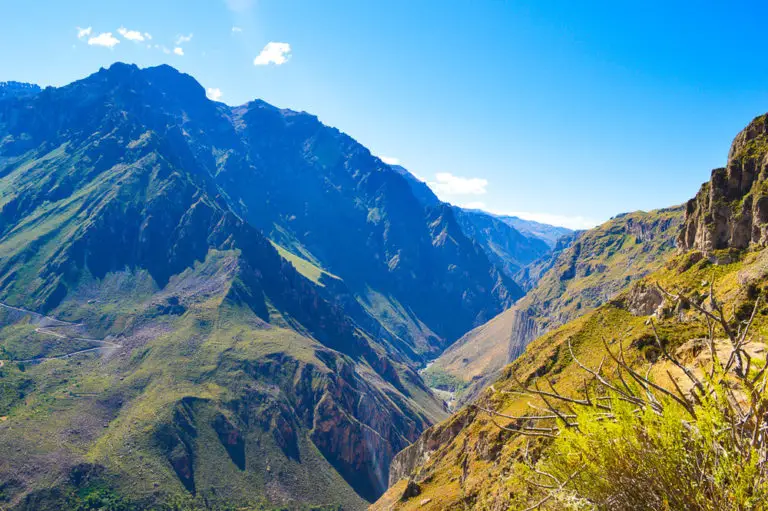
Sorry to be so blunt, but even if you’re at the peak of physical fitness, you’ll no doubt experience some sort of pain in either your knees, ankles or legs.
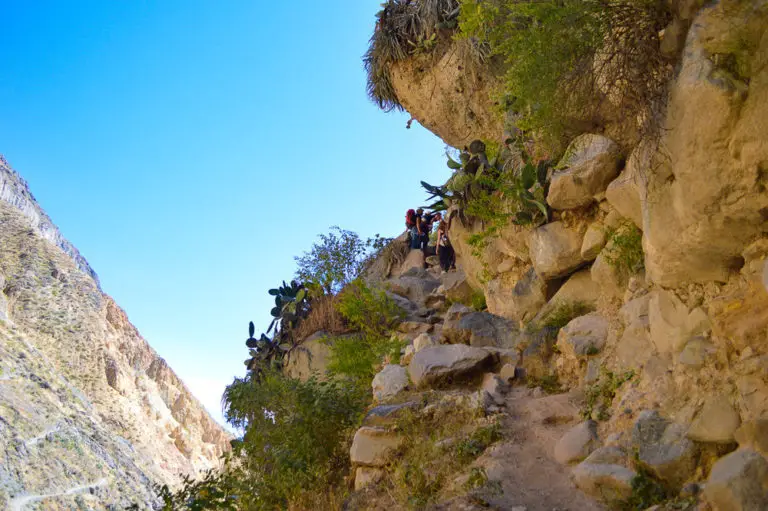
From the very offset, the paths into the canyon are super steep, gravelly and slippery. The repetitive downward motion for hours on end tugs and pounds at muscles you didn’t know existed.
For me, it flared up a major previous knee injury and so the guide ended up taking my backpack and forced me to take his hiking pole.
It’s downhill pretty much from the sunrise start to just before sunset and then of course steeply uphill all the next day, which takes its toll on your body!
What to bring to help make your Colca Canyon hike easier:
Before you undertake this walk, make sure you bring the following items to avoid or lessen the pain!:
- Good walking shoes (ideally not trainers)
- Thick but breathable hiking socks
- Hiking pole x 1/2
- Blister plasters (!)
- Knee/ankle support if you feel you need it
- Deep Heat/Tiger Balm (for those sore muscles)
6. Accept Taking a Mule on Day 2 if Your Guide Advises
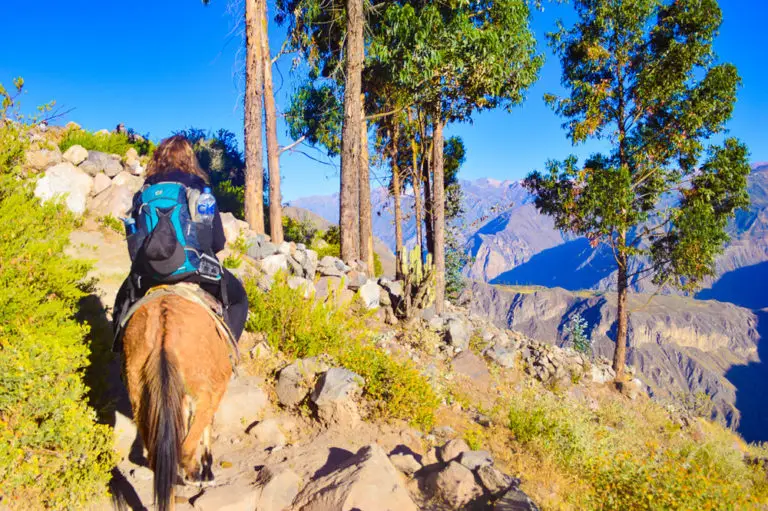
Taking a mule ‘taxi’ on day two to go up the canyon is an option if you struggle or pick up an injury on day one. It’s not really advertised beforehand but it’s a useful backup if needed.
Typically an old knee injury of mine flared up on the last leg of day one. The guide kept pressuring me to get a mule saying I would hold the group up the next day. So as much as I didn’t want to get on the poor thing and stray from the group, I didn’t get much choice!
In reality, there was no way I’d have been able to keep up the pace with my swollen knee and it would have been silly to risk injuring myself further. Disappointment in myself soon turned into gratefulness for giving in – especially when I saw the exhausted faces of the others at the top!
Turns out that sometimes the guides really do know best…
There is a small charge for the mule but the bonus is you get an hour extra in bed whilst the others go on ahead in the darkness (and you get to enjoy the scenery more too).
7. Pack Jumpers, a Sun Hat and Swimwear
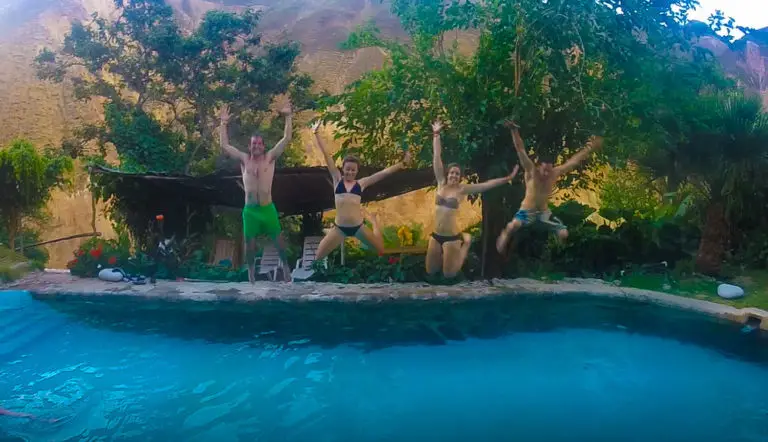
The early mornings and nights in Peru are bitterly cold so you will definitely need a jumper or two for the bus journey in the morning and to wear at night.
As soon as the sun disappears, the bottom of the canyon gets icy cold and you will no doubt be sleeping in a concrete hut on a concrete bed. I definitely wished I had just one more layer to wear at night.
On the flip side, when you are hiking during the day there are no trees for shade and it’s burning hot with no breeze.
Make sure that you wear a light t-shirt that covers your back and shoulders so you don’t get burnt, wear sunscreen and also a hat so you don’t get sun stroke.
Once you have finished day one of hiking, the homestay in the canyon oasis is likely to have a swimming pool which is a total godsend to cool down and more importantly, ease aching muscles. Make sure you pack your swimwear so you can jump in!
8. Pack Some Extra Cash for Souvenirs/Drinks
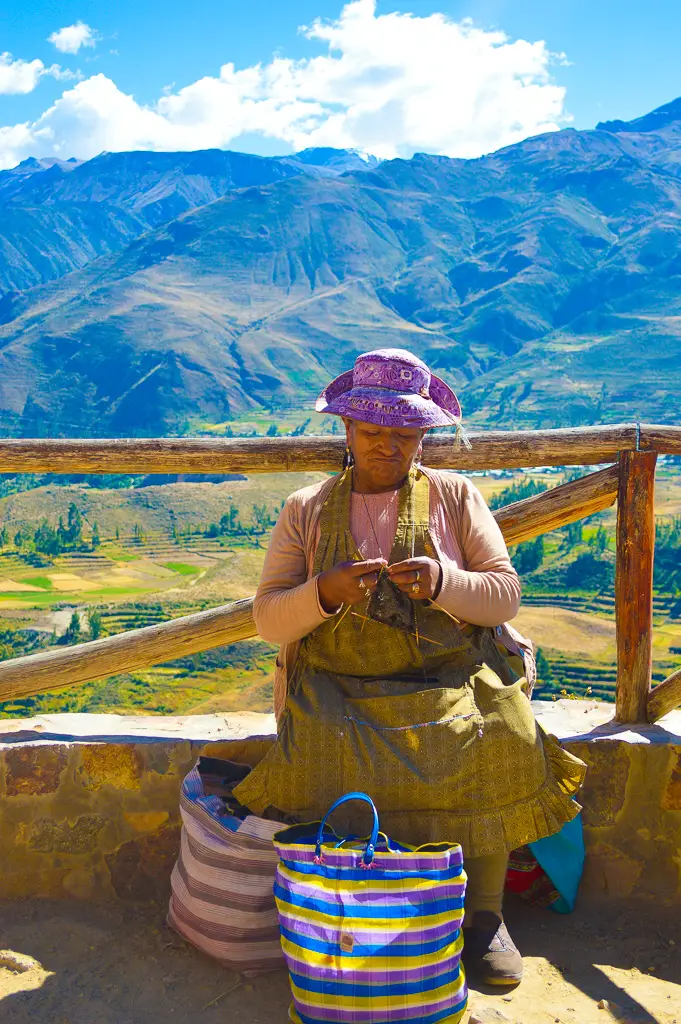
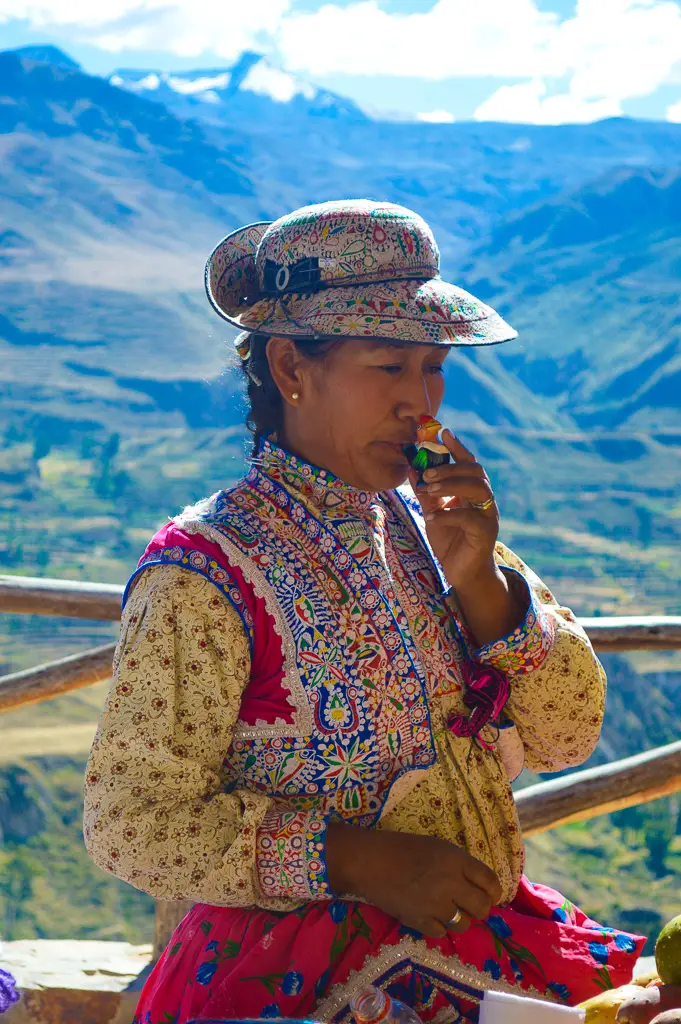
Once we reached the top of the canyon and celebrated, we then walked to another village which was the last opportunity to take in the beautiful landscape. What I didn’t realise is they also sell lovely handmade souvenirs.
It was here that I took some of my favourite pictures of the trip; colourfully dressed ladies in traditional attire flogging their wares at a little market set up for us tourists.
A lot of the market sellers live in the mountains or in the canyon itself. They lug their goods here every day so they deserve at look at least!
If you’re not too exhausted to do a bit of shopping, it may be worth provisioning some extra money for it.
It’s also a good opportunity to grab a soft drink or a bottle of water as like me, you may have run out at this point.
Although I technically didn’t do the entire Colca Canyon hike and beat myself up about it initially, my pride was restored as soon as we set off on the mule alongside the stunning rising sun.
The Colca Canyon was a truly strenuous but beautiful and fun experience and one of my fondest memories of Peru.
Additional Colca Canyon Hike tips:
Here are a few more small tips and things to take if you are going to be hiking the Colca Canyon:
- Keep hold of your national park entrance ticket. At the end they check it to allow you to exit. If you lose it they may make you buy another!
- Pack mosquito spray – at night they devour you!
- Take snacks – I personally needed a few muesli bars and nuts to give me some extra energy.
- Don’t overdo bringing bottles of water – you can buy it at many points throughout the walk such as at breakfast, lunch and back at the homestay.
I hope you found this post about hiking the Colca Canyon useful and go on this trip more prepared than me. Happy hiking!
PIN FOR LATER:
Going travelling Soon? Don’t forget these essentials!
Flights: compare and search for the cheapest flights using Skyscanner
Accommodation: hotels to hostels, glamping to apartments, I always use Booking.com
Tours: to find the best group tours and activities worldwide (with up to 20% off), use Viator
Visa: don’t forget to check the entry requirements for the passport you are travelling with
Inspiration: to kick-start your next adventure, how about Lonely Planet’s Guide to the World?

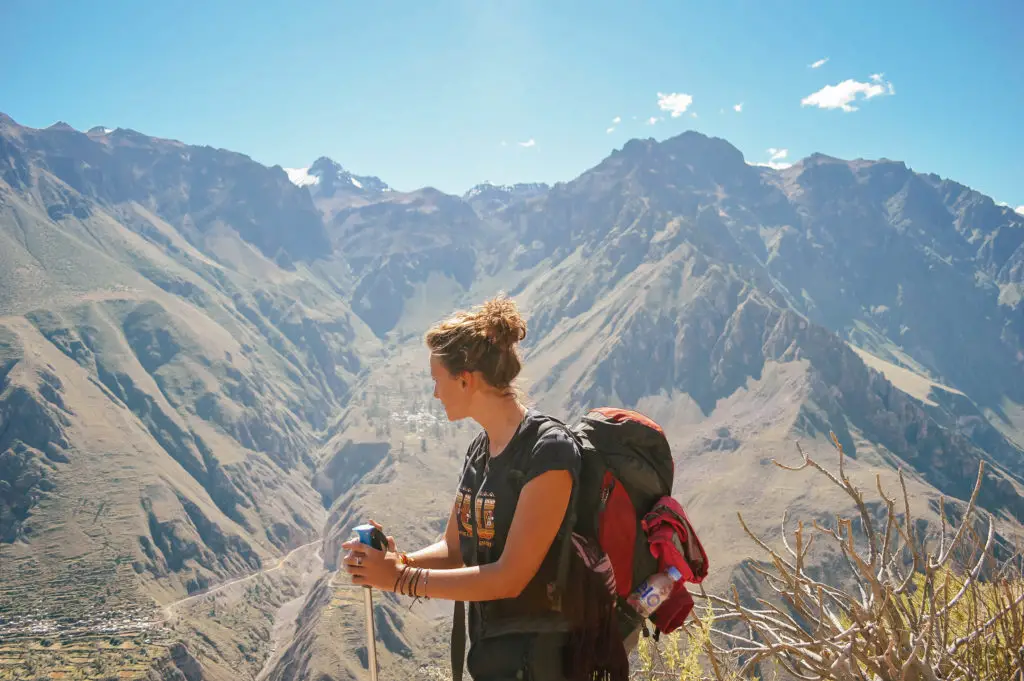
Yikes! This looks like a tough climb but what a sense of achievement you must have had. Those views are just incredible.
I’ve never heard of this canyon but it looks like such a beautiful hike!! You’re tips are SO helpful – I’d love to do this when I go to Peru, so I’ll definitely keep this post in mind!
What beautiful views! I’m sure they are worth the pain but that does look like one difficult hike! What a wonderful experience though!
Hannah | https://getlost.blog/
This definitely looks like a difficult climb. I love hiking but I’m not sure if I’d be able to do it!
Krystianna @ Volumes and Voyages
You lost me on prepare for pain. Sorry about your knee flaring up, but glad there was a donkey option for you. Being not at the peak of my fitness, this is clearly not a hike for me, but I can see my girls doing it someday. Well done to you.
great place to visit, thank you for creating this article