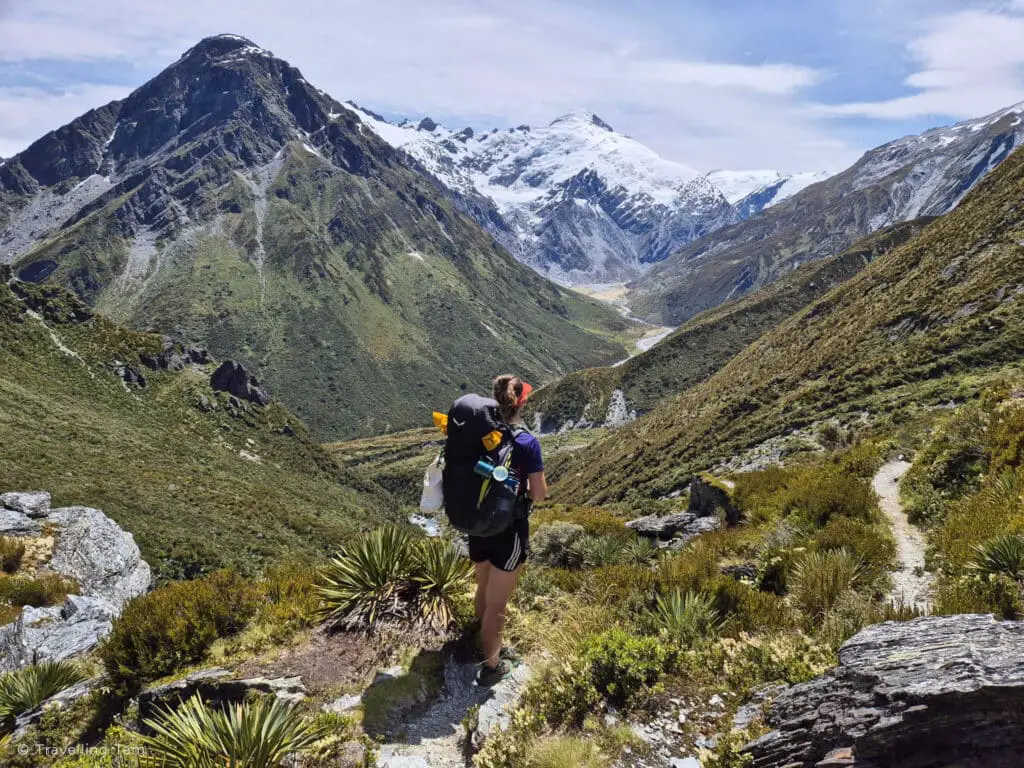
Whilst everyone back home in the UK tucked into Christmas dinner with all the trimmings, we found ourselves in a mountain hut on the Rees-Dart track in the Mount Aspiring National Park, eating uninspiring rehydrated packet meals, surrounded by a bunch of like-minded strangers.
Despite this, it turned out to be an idyllic Christmas – one I’ll never forget.
Although my sister and I are both experienced multi-day hikers, this was our first ‘proper’ tramp in New Zealand. And I admit, even with all the research, I was a little nervous.
The thought of a five day walk ‘out bush’ in a country I last visited 10 years ago for a two month road trip, made me feel a little out of my comfort zone.
But what an absolutely incredible adventure it was. It turns out I had nothing to fear!
Over those five days and four nights spent in three huts, I picked up more practical knowledge than any amount of pre-trip research could have prepared me for.
From packing smarter to navigating bogs and the quirks of New Zealand’s hut system, these Rees-Dart track tips are what I learnt, and what I wish someone had told me. I hope they help you to plan a comfortable and safe Rees-Dart tramp!
Consider Taking Track Transport
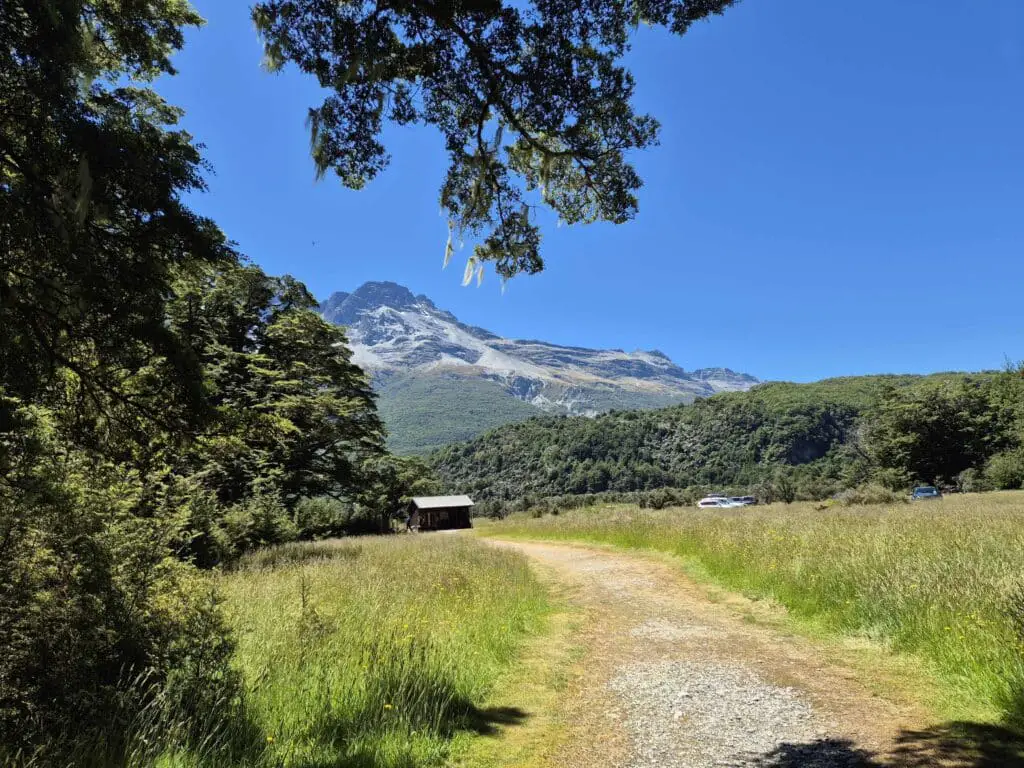
Unless you’re in a group where you can arrange a car shuffle, opting for public track transport is a great idea considering the Rees-Dart tramp is a point-to-point route.
One public transport provider, Info & Track (formerly called Glenorchy Journeys), serves the walking track from Queenstown or Glenorchy.
You can either get dropped off at the Muddy Creek car park (‘Rees’), which is the most common start point, or Chinaman’s Bluff (‘Dart’) to walk the route in ‘reverse’.
Info & Track have a Rees-Dart package which is $139NZD per adult for a return journey to Queenstown. They can also arrange car relocations if you prefer that. Though you’ll likely be a bit tired after the walk, and so a bus means you can zone out and relax!
Some Days Were Longer Than Advertised
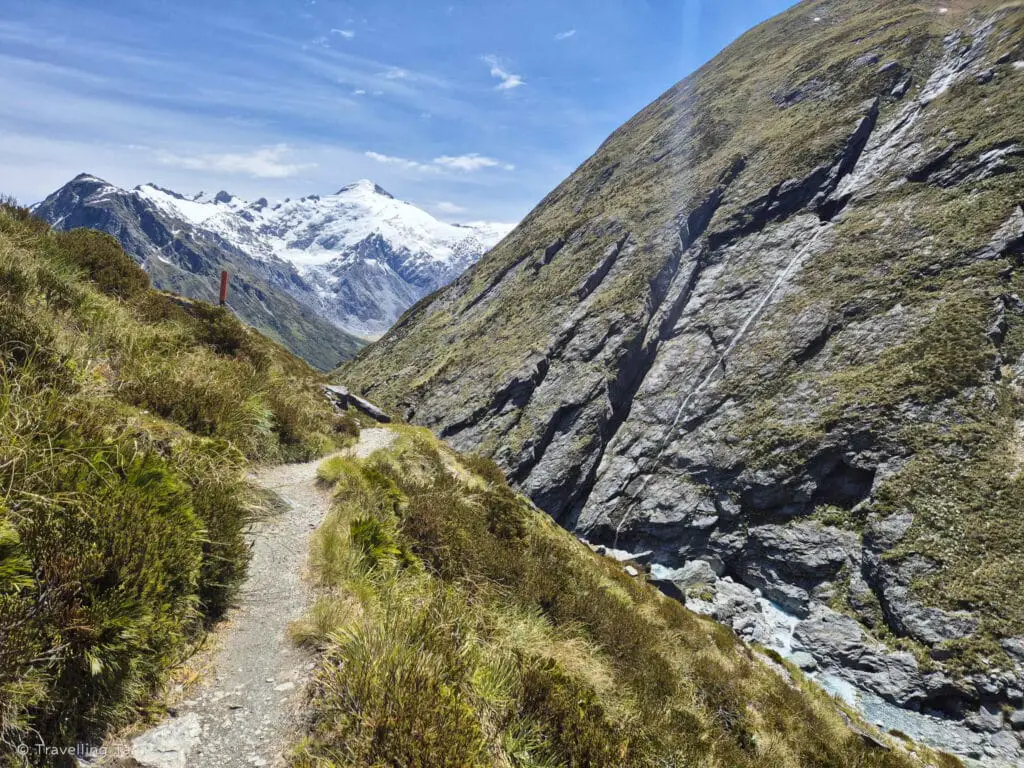
We found our Garmin devices clocked more kilometres than the official track notes of 63 km suggested. That was aside from the Shelter Rock to Dart Hut day, which was bang on the advertised 10km.
It wasn’t a dealbreaker considering it was a walking holiday after all. But there’s a unique kind of disappointment that comes from trudging along after a long day on your feet, expecting the hut to appear over the next hill, but in reality, you still have a few kilometres to go…
The worst days were the last two, which were 4 km longer than noted, which on tired legs was a little demoralising. So be warned, and mentally prepared!
Here’s what the official, versus our measured distances were:
- Muddy Creek Car Park to Shelter Rock Hut – official: 19km, actual: 21km.
- Shelter Rock Hut to Dart Hut (via Rees Saddle) – both 10km.
- Dart Hut to Daleys Flat Hut – official: 18km, actual: 22km
- Daleys Flat to Chinamans Bluff Car Park – official: 16km, actual: 20km.
So overall, instead of 63 km, we found the Rees-Dart track to actually be over 73 km (45 miles) long, and that’s without the added 20 km Dart Glacier out-and-back trip.
The days of walking are quite lengthy with a fully loaded pack, but fine for competent hikers. The elevation on the Rees-Dart is also realistically quite minimal as you’re mainly skirting the bottom of the valley. So as long as you’re up early to make the most of daylight hours, these added kilometres shouldn’t concern you too much.
Bring Bug Repellent – You’ll Need It!
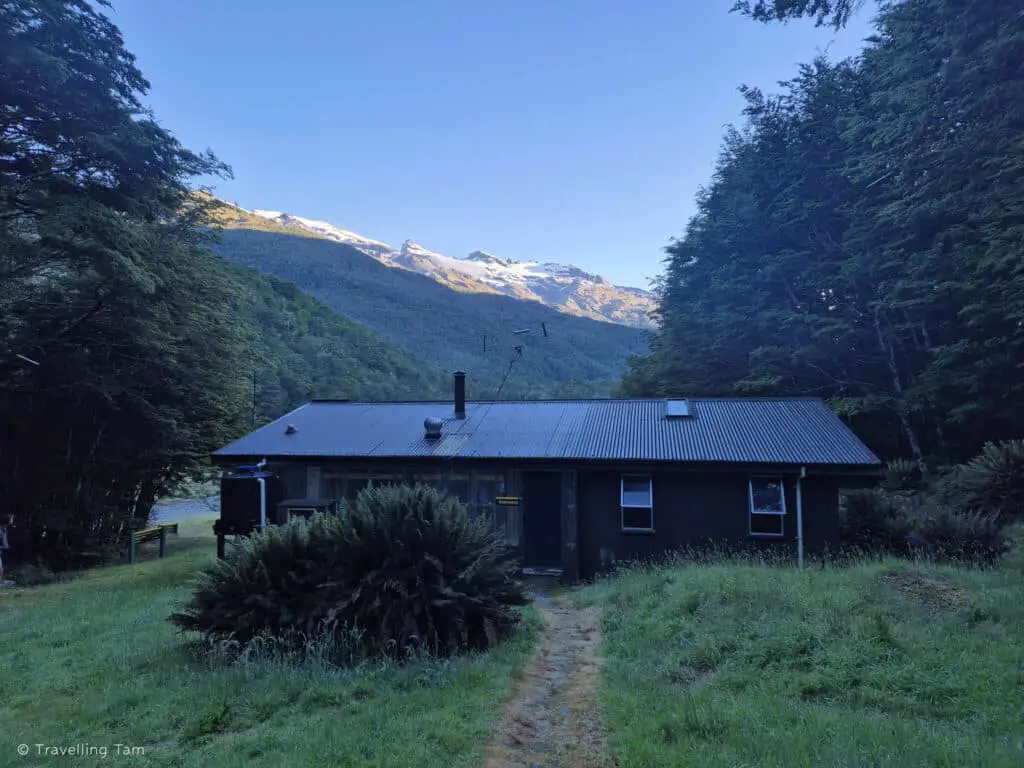
The only downside to the entire Rees-Dart tramp were the irritating sandflies. Whilst they don’t get you whilst you’re walking, the moment you stop, they absolutely descend on you, biting any exposed flesh.
The sandflies were bad everywhere, but we found the Daleys Flat area to be the worst and many others agreed. I wore my waterproof pants in the hut just so I didn’t get bitten!
A good odour free bug repellant is a must, as is anti-itch cream to soothe the inevitable bites you’ll get.
Forget the Waterproof Boots – Wear Quick Drying Shoes
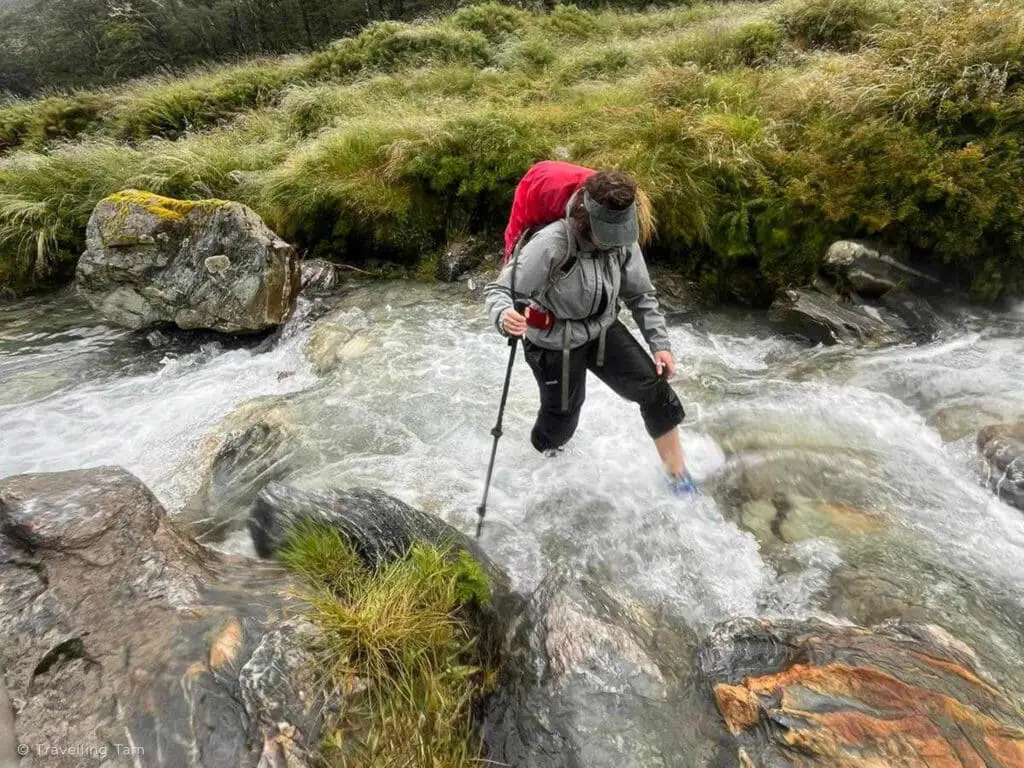
Seriously, ditch those leather waterproof boots. They’re absolutely pointless on this track!
The Rees-Dart track requires countless crossings (it felt like hundreds!) through ankle to knee-deep creeks, rivers, bogs and mud. Water will simply go right over the boots rendering them uncomfortable and heavy.
We took our shoes and socks off at the first creek we encountered on the road from Muddy Creek car park, but soon realised it was totally redundant. It would be an utter waste of time to keep it up!
Wearing light trail running shoes was absolutely the best decision we made. I would highly recommend they should be your footwear of choice for the Rees-Dart track (we love our Hokas!). They had fantastic grip on slippery rocky terrain and mud slides, and meant we could wade through water without hesitation, and leave our shoes to dry outside overnight.
Hiking with wet feet is simply something you’ll have to put up with. In fact, it was so bad that on the last day at Daleys Flat Hut, despite wearing dry socks and shoes, I had what I referred to as ‘phantom wet foot’. My mind literally played tricks on me, and I felt like I was squelching in wet socks, despite my feet being bone dry!
Gaiters are also probably pointless too, but I noticed some people used them each day. I personally would think they would be more uncomfortable than anything.
So grab your runners, pack extra quick-drying socks, leave your shoes out to dry as soon as you arrive, and you’ll be glad you did!
Dry Your Gear as Soon as You Get to the Hut
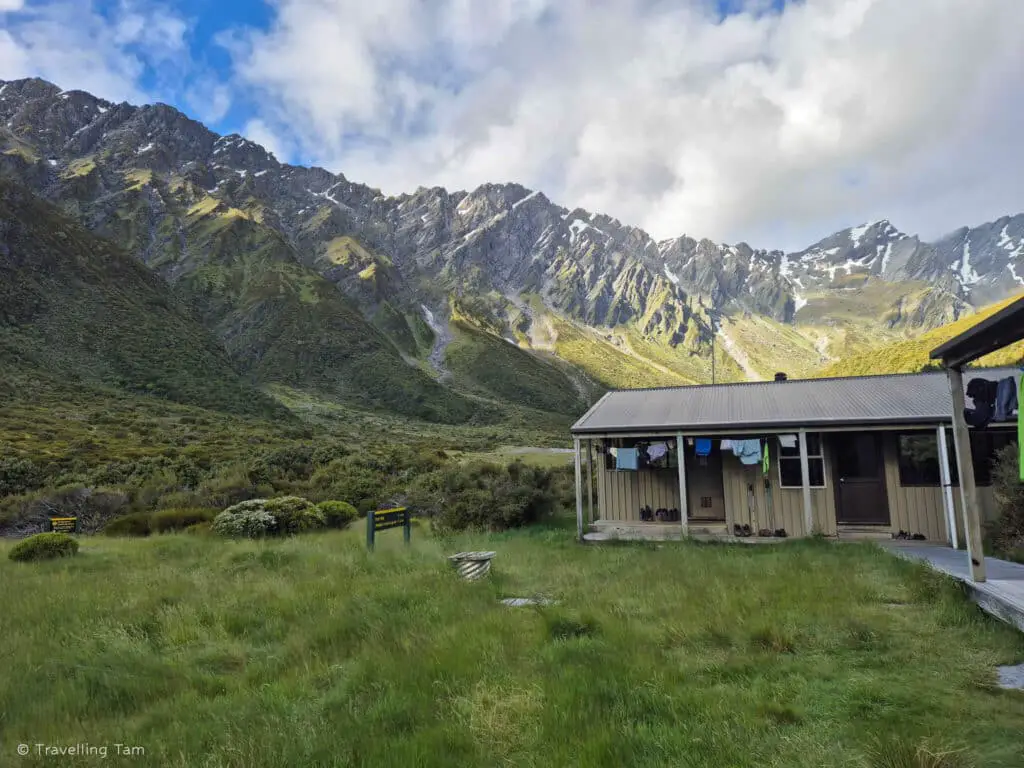
With the above being said, utilise the time spent at the huts to dry out your gear. We instantly hung out our shoes and socks to dry when we arrived, and washed muddy socks at the outdoor taps when required. A dry change of shoes for the hut is a must.
We also brought swimwear and a quick drying towel so we could wash in rivers, and hung these out in the sun as soon as possible.
There are some makeshift clotheslines at every hut, so the earlier you are, the more likely you are to nab a prime section!
Bring a Hiking Pole!
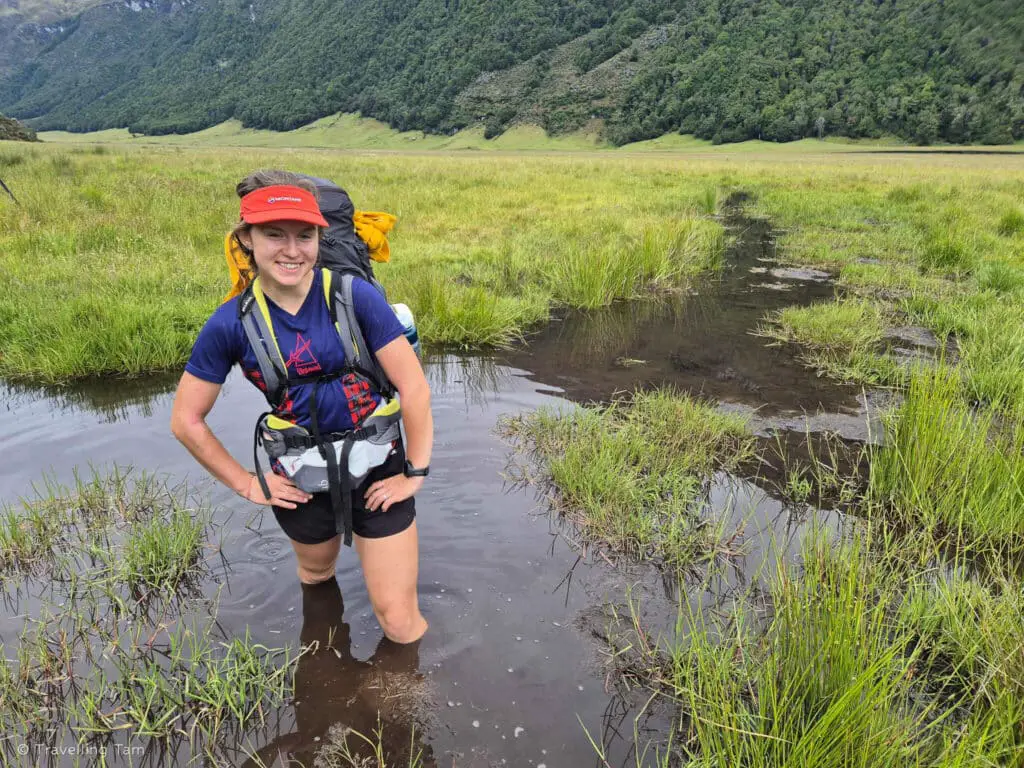
Even if you don’t normally use hiking poles, I recommend bringing at least one per group to aid bog and river crossings.
The hiking pole I picked up in Queenstown ended up being such a great last minute addition. On the first day we used it to feel out a bog, which otherwise would have been at least waist high!!
It was only through feeling around using the pole that we found a part of the bog that was only knee level, and so we could cross safely.
I also found the hiking pole really helpful for the downhill section on day two, from Rees Saddle down to Dart Hut, as it was pretty tough on the knees otherwise.
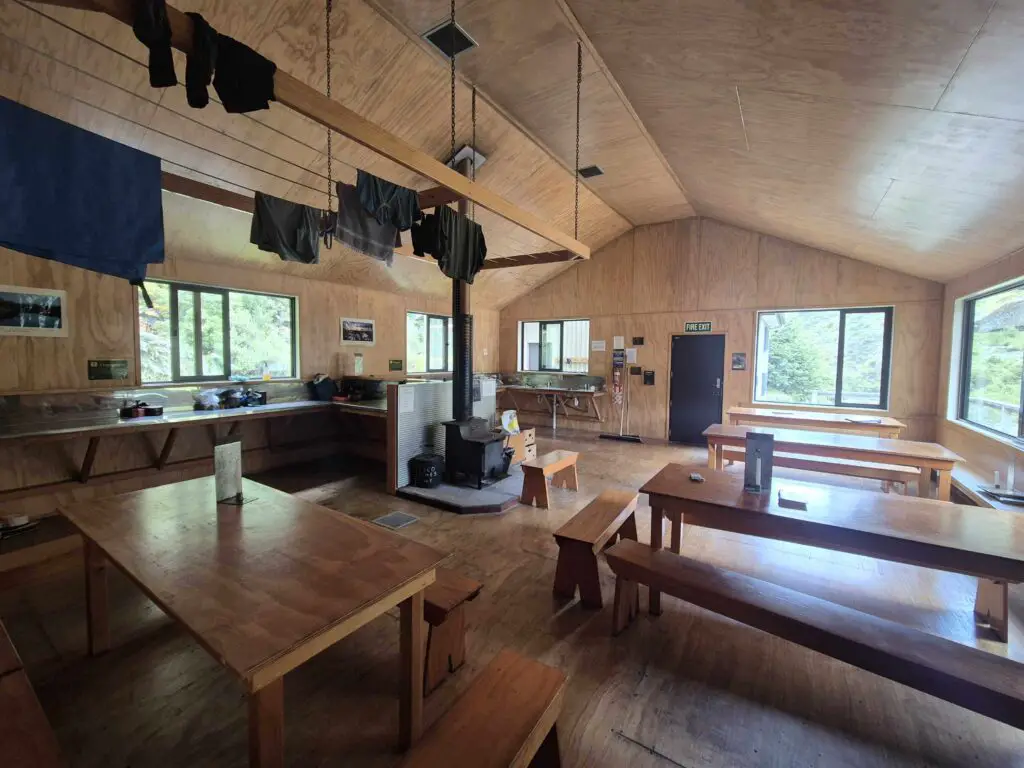
One of my biggest fears was missing out on a bed for the night, especially with the bunks being first-come, first-served and it being peak season.
I just had grim visions of a night outside on the deck, getting eaten alive by sandflies!
Fortunately, the huts were full but everyone had a bed who wanted one. In fact as we left by 8.30am or so everyday, we were often one of the first groups in the hut so could shotgun the bed of our choice. Some people also brought tents and planned to sleep outside anyway.
Every hut has a plastic coated mattress, and some spares in case people do indeed need to sleep on the floor. I brought a sleeping mat on advice from a Facebook group, but in hindsight, I should have saved the space and weight. It was basically the only item in my pack that I didn’t use and wish I’d left behind.
So unless you plan to camp in a tent, I would consider leaving the sleeping mat behind, especially if you’re tramping off-peak. If you are worried, just try to leave between 7am-8am in the morning to get to the huts in good time.
In case you don’t already know, you’ll also need to buy a green serviced hut ticket for every night you’ll sleep in the hut. We found the ranger to be based at Dart Hut, and so we gave them our tickets then.
Plan Enough Evening Entertainment
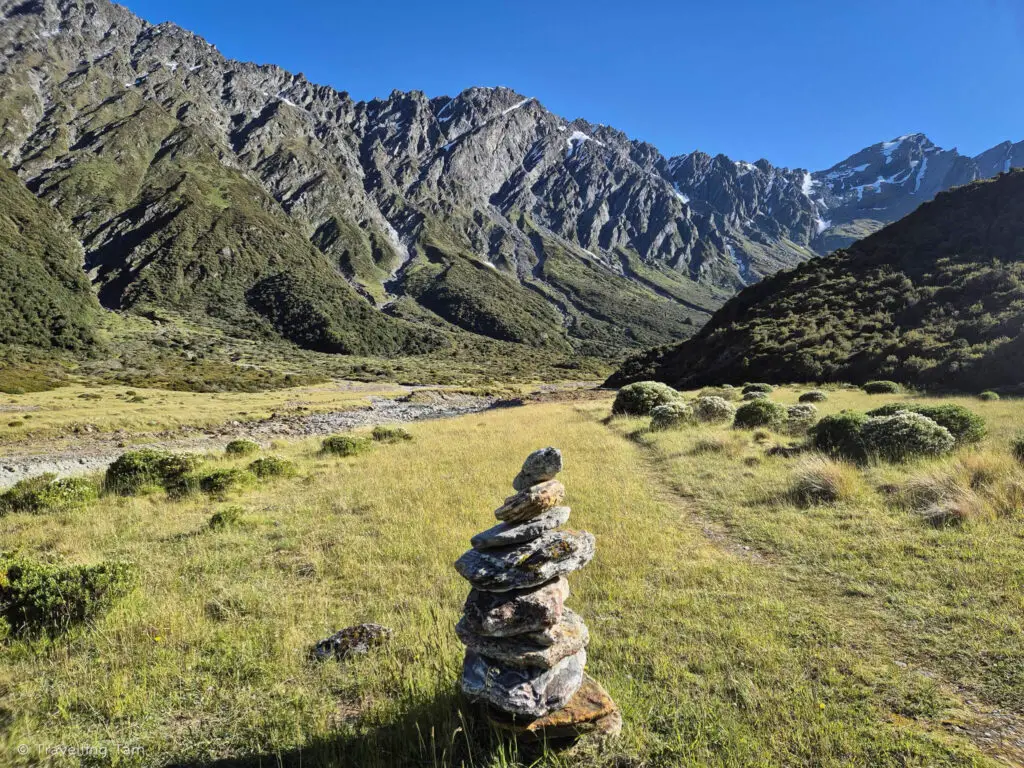
We found ourselves in the huts by around 2pm most days and so had hours to kill before and after dinner.
Despite bringing my Kindle to read, and our journals to write in, we still found that we were restless and looking for things to do. We probably went a bit too light and didn’t bring much in the way of evening entertainment.
The huts do have outdoor magazines to read that people have left behind, and sometimes a few books, but overall we wished we’d brought a pack of cards or games to keep us entertained.
Bring Plenty of Snacks
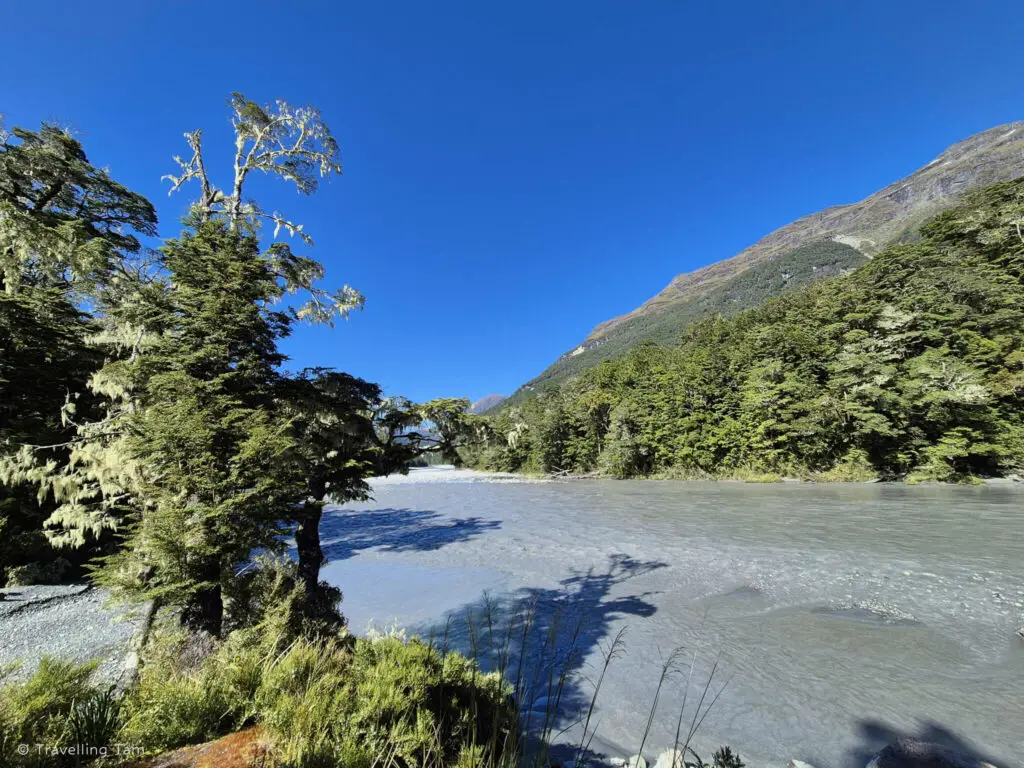
As well as being short of entertainment, we were also a little on the light side with food.
We’d carefully planned our main meals and snacks for the walk, but after all the physical exertion and fresh air, we were constantly hungry – craving heartier meals and definitely needing more snacks for downtime at the huts.
You should have seen the envy on our faces when people cracked open packets of biscuits or tucked into steaming bowls of mashed potato and gravy. We definitely regretted not bringing a few more tasty things!!
Add on a Day for the Dart Glacier Out- and-Back
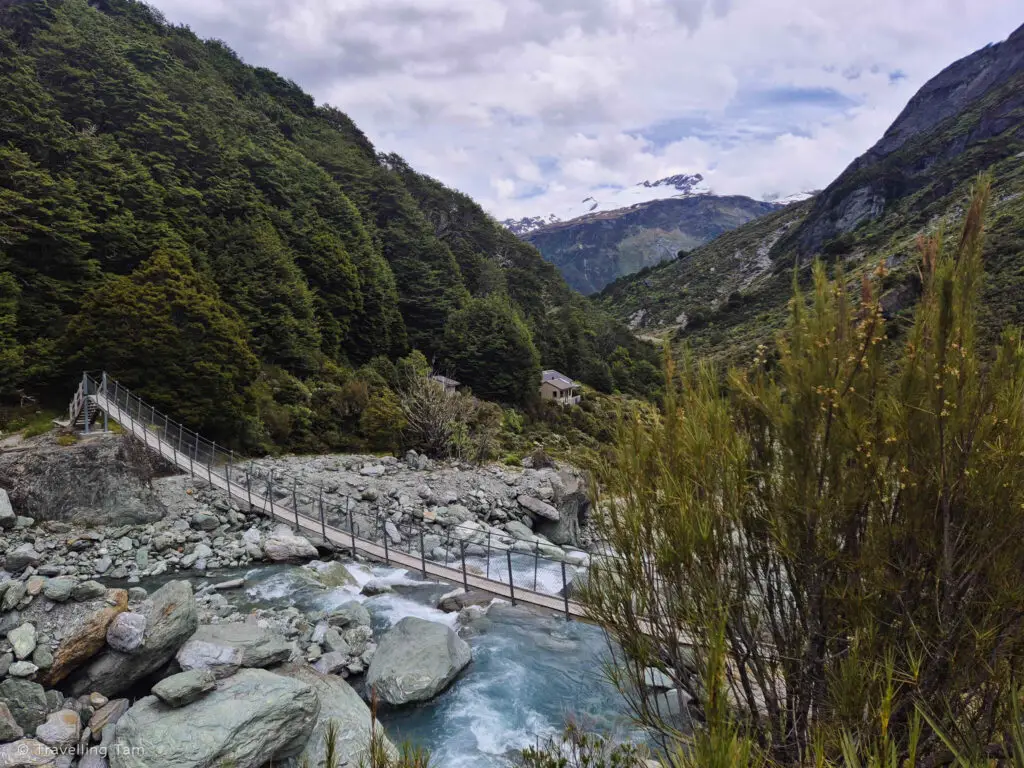
While most people complete the Rees-Dart Track in four days, it’s common to extend it to five, allowing a full day to tackle the stunning out-and-back trip to Dart Glacier from Dart Hut. The return journey is around 20 km.
We planned to hike to the glacier on Christmas Day. Unfortunately, after a night (and forecasted day) of relentless rain, the river crossings were to be sketchy at best. The hut ranger advised against it, warning us we could end up stranded on the wrong side of a raging river — and we weren’t keen on finding out the hard way!
However, we met people who did it on another day and said it was their highlight of the entire walk. So if you have the inclination and energy, factor in an extra day for this extra special day trip.
FAQs for the Rees-Dart Track:
Are there toilets located along the Rees-Dart track?
Toilets are only available at the huts. There are no facilities along the trail, so be prepared to go in the bush if needed, and make use of the toilets when available.
Is there water at the huts on the Rees-Dart Trail?
Yes, each hut has running water, but it’s non-potable and must be boiled or treated before drinking. Flushing toilets are available in summer, with composting toilets in use during winter.
How hard is the Rees-Dart track?
The Rees-Dart Track is considered challenging, with long days of walking (5-7 hours) and numerous river and creek crossings. However, the 63 km+ route is a popular choice for beginners to multi-day hiking, as it’s generally flat, well-signposted, and manageable for those with a good level of fitness.
How easy is it to navigate the Rees-Dart track?
The Rees-Dart track is very well signposted, with orange arrows or posts with orange plastic to follow. While occasional deviations may occur due to slips or obstacles, these are typically short and easy to follow back to the main route.
Is there phone reception on the Rees-Dart Track?
In my experience, there was zero phone reception on the whole five days on the Rees-Dart track. For safety, you should bring a PLB, and also give a trusted person your planned route and itinerary. Seek help from Rangers in an emergency as they have radios.
Can I hike the Rees-Dart Track alone?
Absolutely, many hikers do the track solo. However, it’s important to be well-prepared and let someone know your itinerary. The track is generally safe and well signposted but it can be remote. Solo hikers are encouraged to use a personal locator beacon (PLB) in case of emergencies and have a map or GPS file of the route downloaded on a device.
Is the Rees-Dart Track a ‘Great Walk’ of New Zealand?
Whilst the Rees-Dart is not one of the official eleven ‘Great Walks’, it is equally as spectacular and a popular alternative for those unable to book a Great Walk.
Going To New Zealand Soon? Don’t forget these essentials!
Flights: compare and search for the cheapest flights using Skyscanner
Accommodation: hotels to hostels, glamping to apartments, I always use Booking.com
Tours: to find the best group tours and activities worldwide (with up to 20% off), use Viator
Visa: don’t forget to check the entry requirements for the passport you are travelling with
Guide books: Lonely Planet’s Guide to New Zealand or New Zealand’s best road trips
Inspiration: to kick-start your next adventure, how about Lonely Planet’s Guide to the World?

