When my sister travelled to Australia to visit me for the first time, I wanted us to do a challenging day hike that would utterly show off the rugged, epic scenery of Victoria.
I knew instantly it had to be to Sugarloaf Peak (Barralbarayi) via Wells Cave Track. It’s a stand-out grade 5 day hike up to the highest point of the spectacularly sharp ridges in the Cathedral Range State Park (920m).
Sugarloaf Peak via Wells Cave Track alone is roughly 10.7kms and should take around 4-5 hours to complete if you have a good level of fitness. It is rated as hard and can sometimes take people longer than this.
The South and North Jawbones can also be added to this route to make it a bit longer and to enjoy some more fantastic panoramic views. Adding both Jawbones to the Sugarloaf Peak Circular walk is about an extra 45 minutes (2.5-3 kms), making the whole route as described in this blog post around 13.2 kms/8.2 miles.
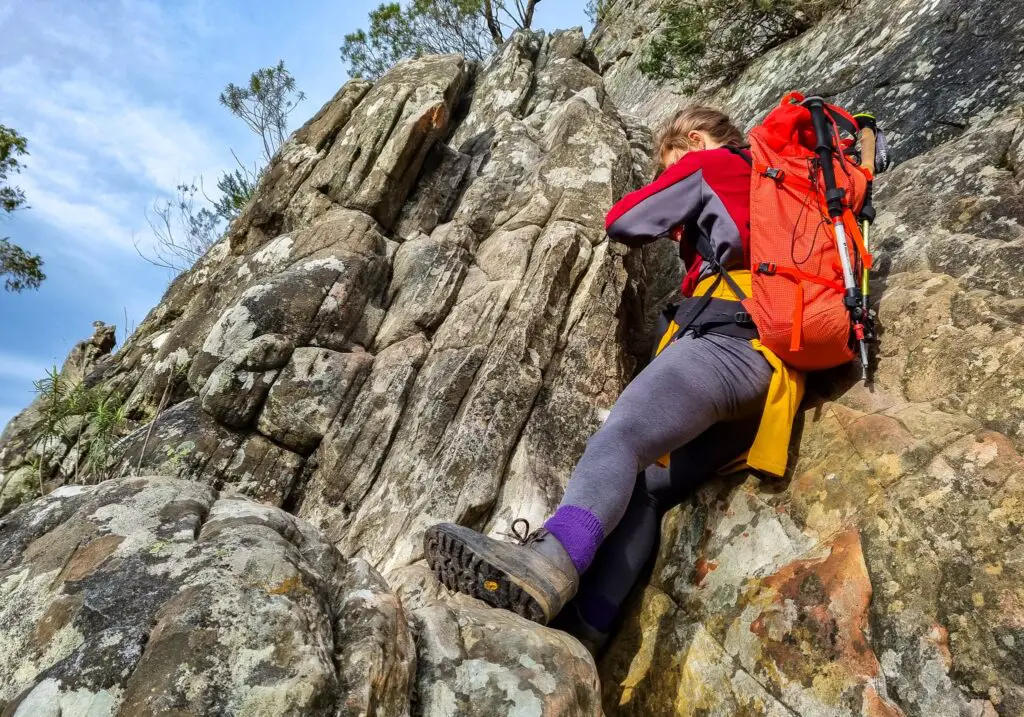
Be warned though – hiking Sugarloaf Peak via Wells Cave Track is not for the faint-hearted. The route requires you to squeeze through very claustrophobic rock faces and ascend up some near vertical, seemingly impossible-to-scale rock walls. You could even call it bouldering.
But, if you’re an experienced hiker and the weather is dry (you should absolutely not do it wet or after rain), this hike will not only offer stunning panoramic views all along the route, but a massive sense of achievement too!
Here’s everything you need to know about hiking Sugarloaf Peak via the Wells Cave Track with the South and North Jawbones.
*This post may contain affiliate links meaning should you purchase a product via this link, I’ll earn a small commission at no extra cost to you. See my privacy and disclosure policy for more.*
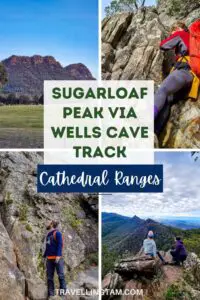
PIN FOR LATER:


Getting to the Cathedral Ranges State Park
To begin the Southern Circuit to Sugarloaf Peak you should aim for Cooks Mill Camping Area near Taggerty.
From Melbourne CBD, it is 121km north east, which is roughly a 1.5-2 hour drive. Though of course this depends on where exactly you are coming from in Melbourne.
You won’t find any public transport to the Cathedral Ranges. If you do not have a vehicle, you will have to hire one. I recommend searching and comparing car hire through Skyscanner Car Rentals.
Where to stay
– Cooks Mill Camping Ground

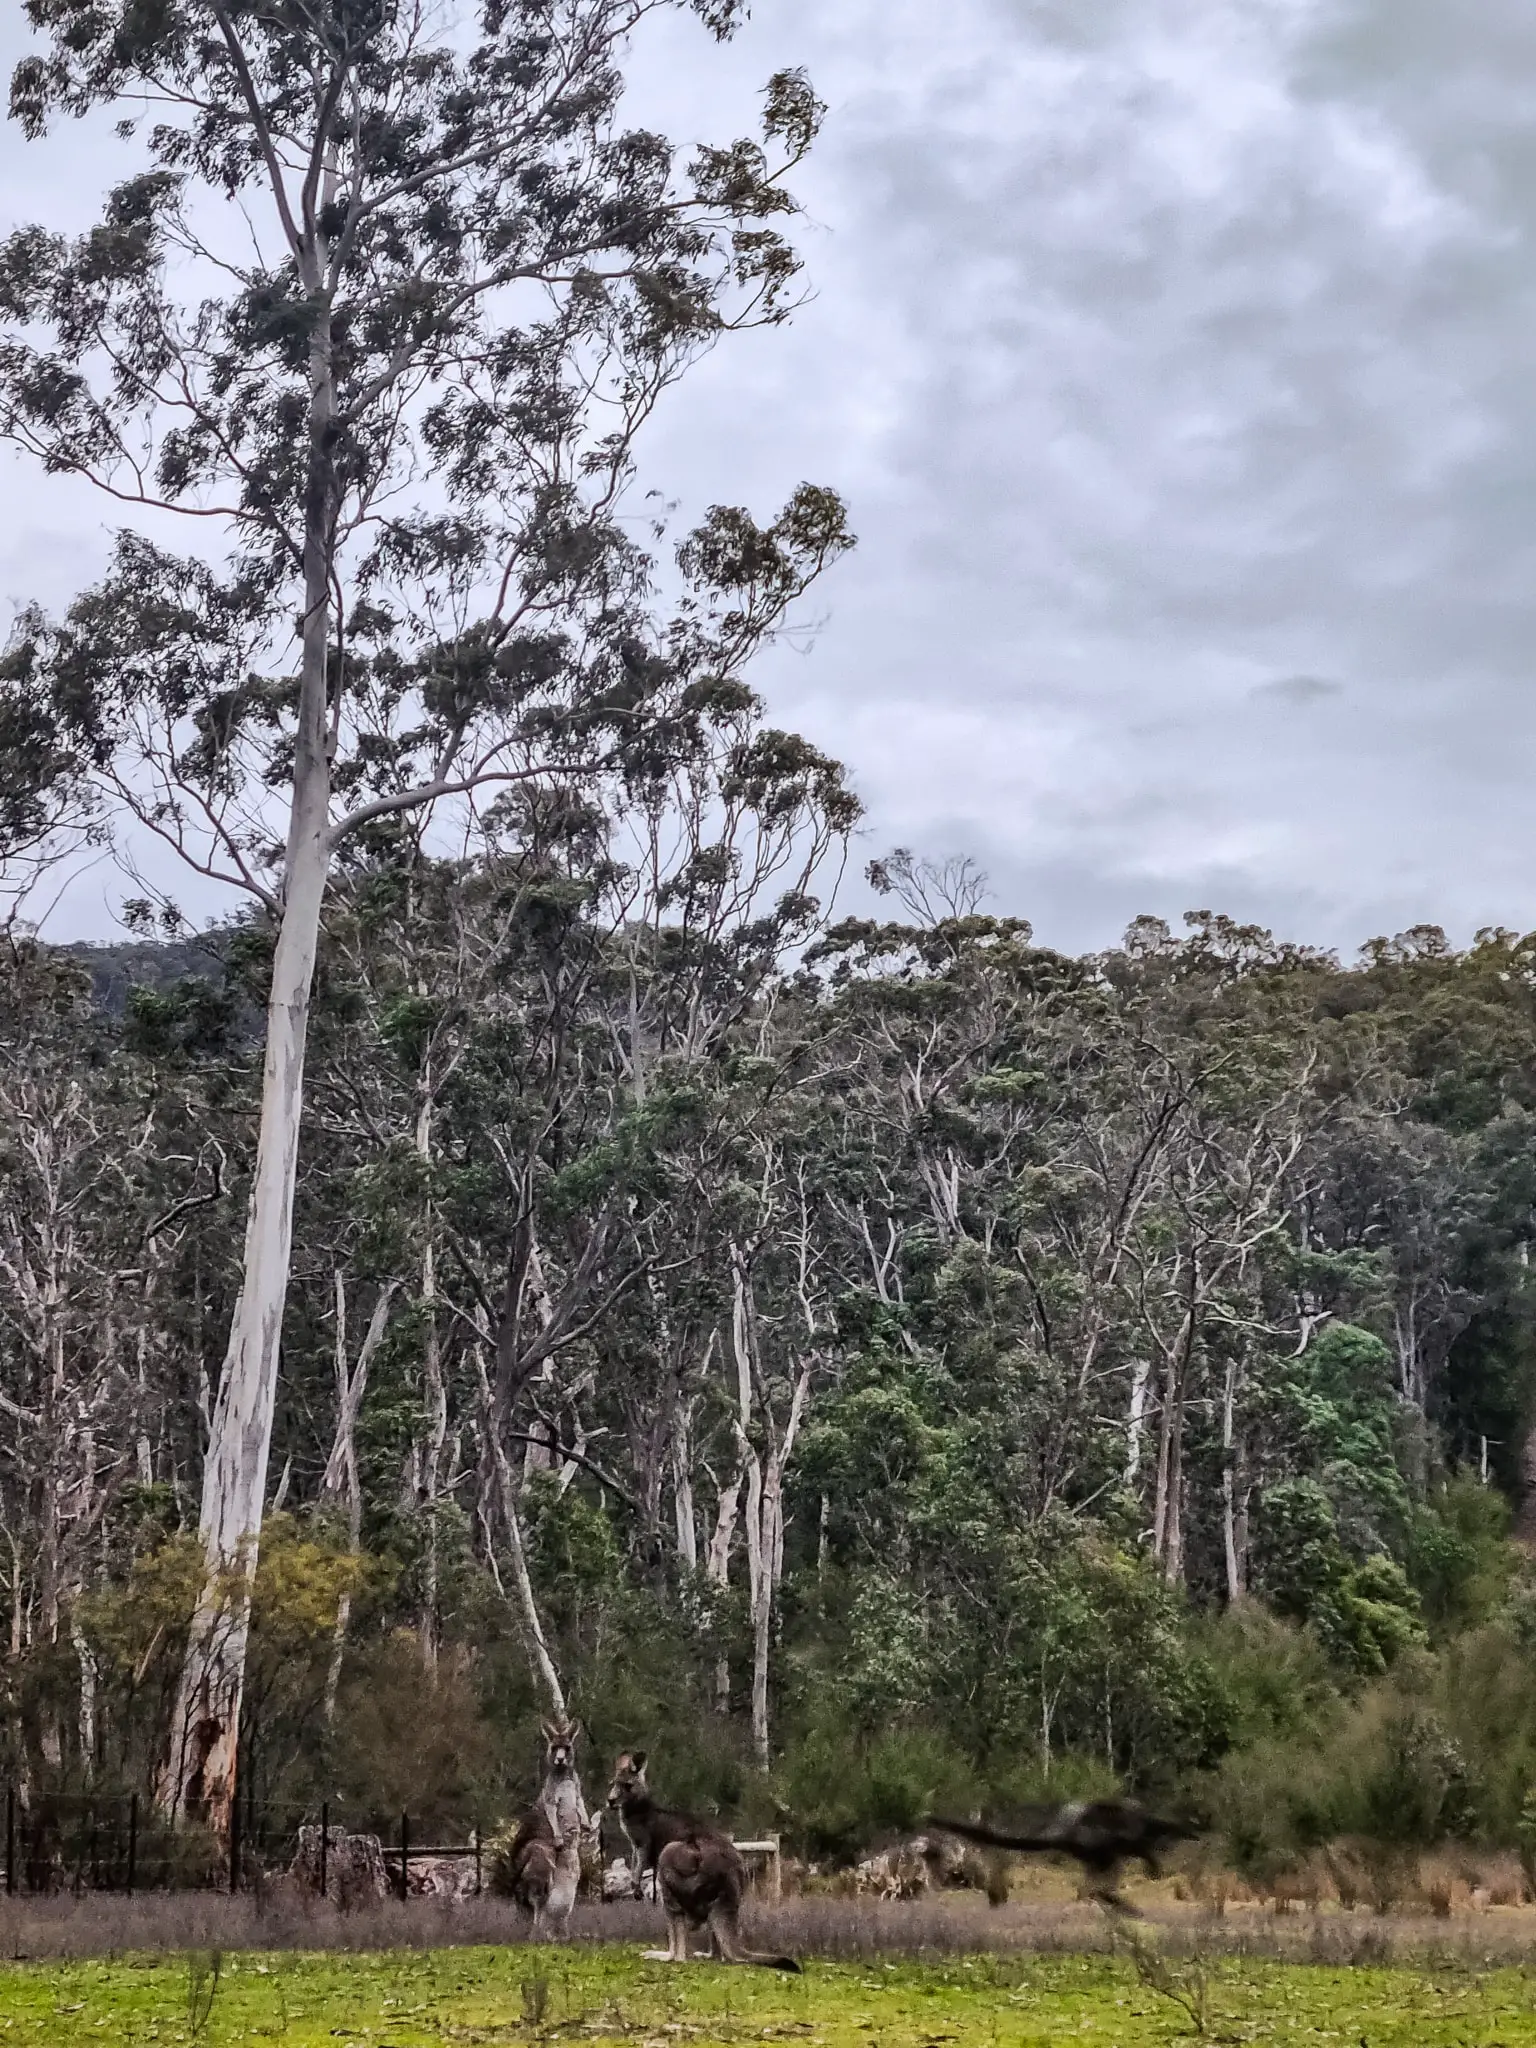
Tucked next to the Little River on the site of a former timber mill is Cooks Mill Camping Area. Staying here the night before ahead of your hike is a great idea.
The very pretty (but popular) campground is shaded by Peppermint, Blackwood and Red Stringybark gum trees. It’s also common to see kangaroos grazing at dawn and dusk in the small pasture behind, out towards the mountains.
The campground is suitable for tents and small camper vans/caravans. You must book to stay at Cooks Mill Camping Area via the Parks Victoria website and display your permit in the window of your vehicle. Individual spots cannot be reserved though so you must select your spot when you get there, so the earlier you arrive, the better!
Campground features include long-drop non-flush toilets, picnic tables, communal fireplaces and a day shelter. And sorry, no dogs allowed unless they are guide dogs.
– Taggerty & surrounds
The alternative to camping is staying in the nearby town of Taggerty where there is a Big4 Holiday Park and Yarrolyn Holiday park.
In nearby Acheron there are some hotels, such as the Drom Aluinn B&B and Acheron Valley Country Estate.
Is Sugarloaf Peak via the Wells Cave Track suitable for beginners?
Short answer: no. If you’re not an experienced hiker, then leave this one for another time. Instead either go via the Canyon Track (which is still quite challenging in itself), or just towards the Farmyard for the North & South Jawbones.
The Wells Cave Track is not suitable for young children, or anyone with a fear of heights, exposed cliffs or claustrophobia.
As mentioned, do not attempt this route in rain, after rain or in poor conditions such as high winds or fog.
Where to start the Sugarloaf Peak via Well Cave Track walk
It’s best to start this route from the Jawbone Carpark, which is accessed from Cerberus Road behind Cooks Mill Campground. Jawbone Carpark is the starting point of the Southern Circuit walks.
Some people actually start the walk from Cooks Mill Campground or even the Sugarloaf Saddle carpark. However it only adds on some extra tiring kilometres up/down the boring firetrack-style road which is a poor choice with such an already challenging hike!
From Jawbone Car Park, begin the walk in a clockwise direction by continuing up Cerberus Road (left when facing the mountains). This means you get the boring and fairly unscenic 30-40 minute uphill part of the walk over and done with, and will arrive right at your car at the end.
Descending down the Wells Cave Track is also extremely dangerous. It’s not advisable to attempt this route anti-clockwise.
For those who have second thoughts about hiking the notorious Wells Cave Track, or in case of poor conditions, there is also a slightly easier route up Sugarloaf Peak, the Canyon Track. The Canyon Track is a grade 4/5 trail which starts from the Sugarloaf Saddle Day Visitor Area.
Let the adventure begin – Hiking The Wells Cave Track
Please note the displayed Google Map route does not depict the accurate time it takes to hike this challenging trail (4.5-6 hours). It also adds on the North and South Jawbones as short return hikes, which you do not have to add on if you are tired or short on time/daylight.
After 35-40 minutes walking up Cerberus Road you’ll reach Sugarloaf Saddle Parking where you need to turn right onto the forested trailhead to begin.
At the footpath junction, if you’ve decided on the slightly easier Canyon Track, take the left trail. For the Wells Cave Track, take the right trail, as the signposts direct.
After only a few seconds of walking through the woodland you’ll immediately start ascending up over rocks. There’s no shying away from what you’re about to get into if you look upwards!
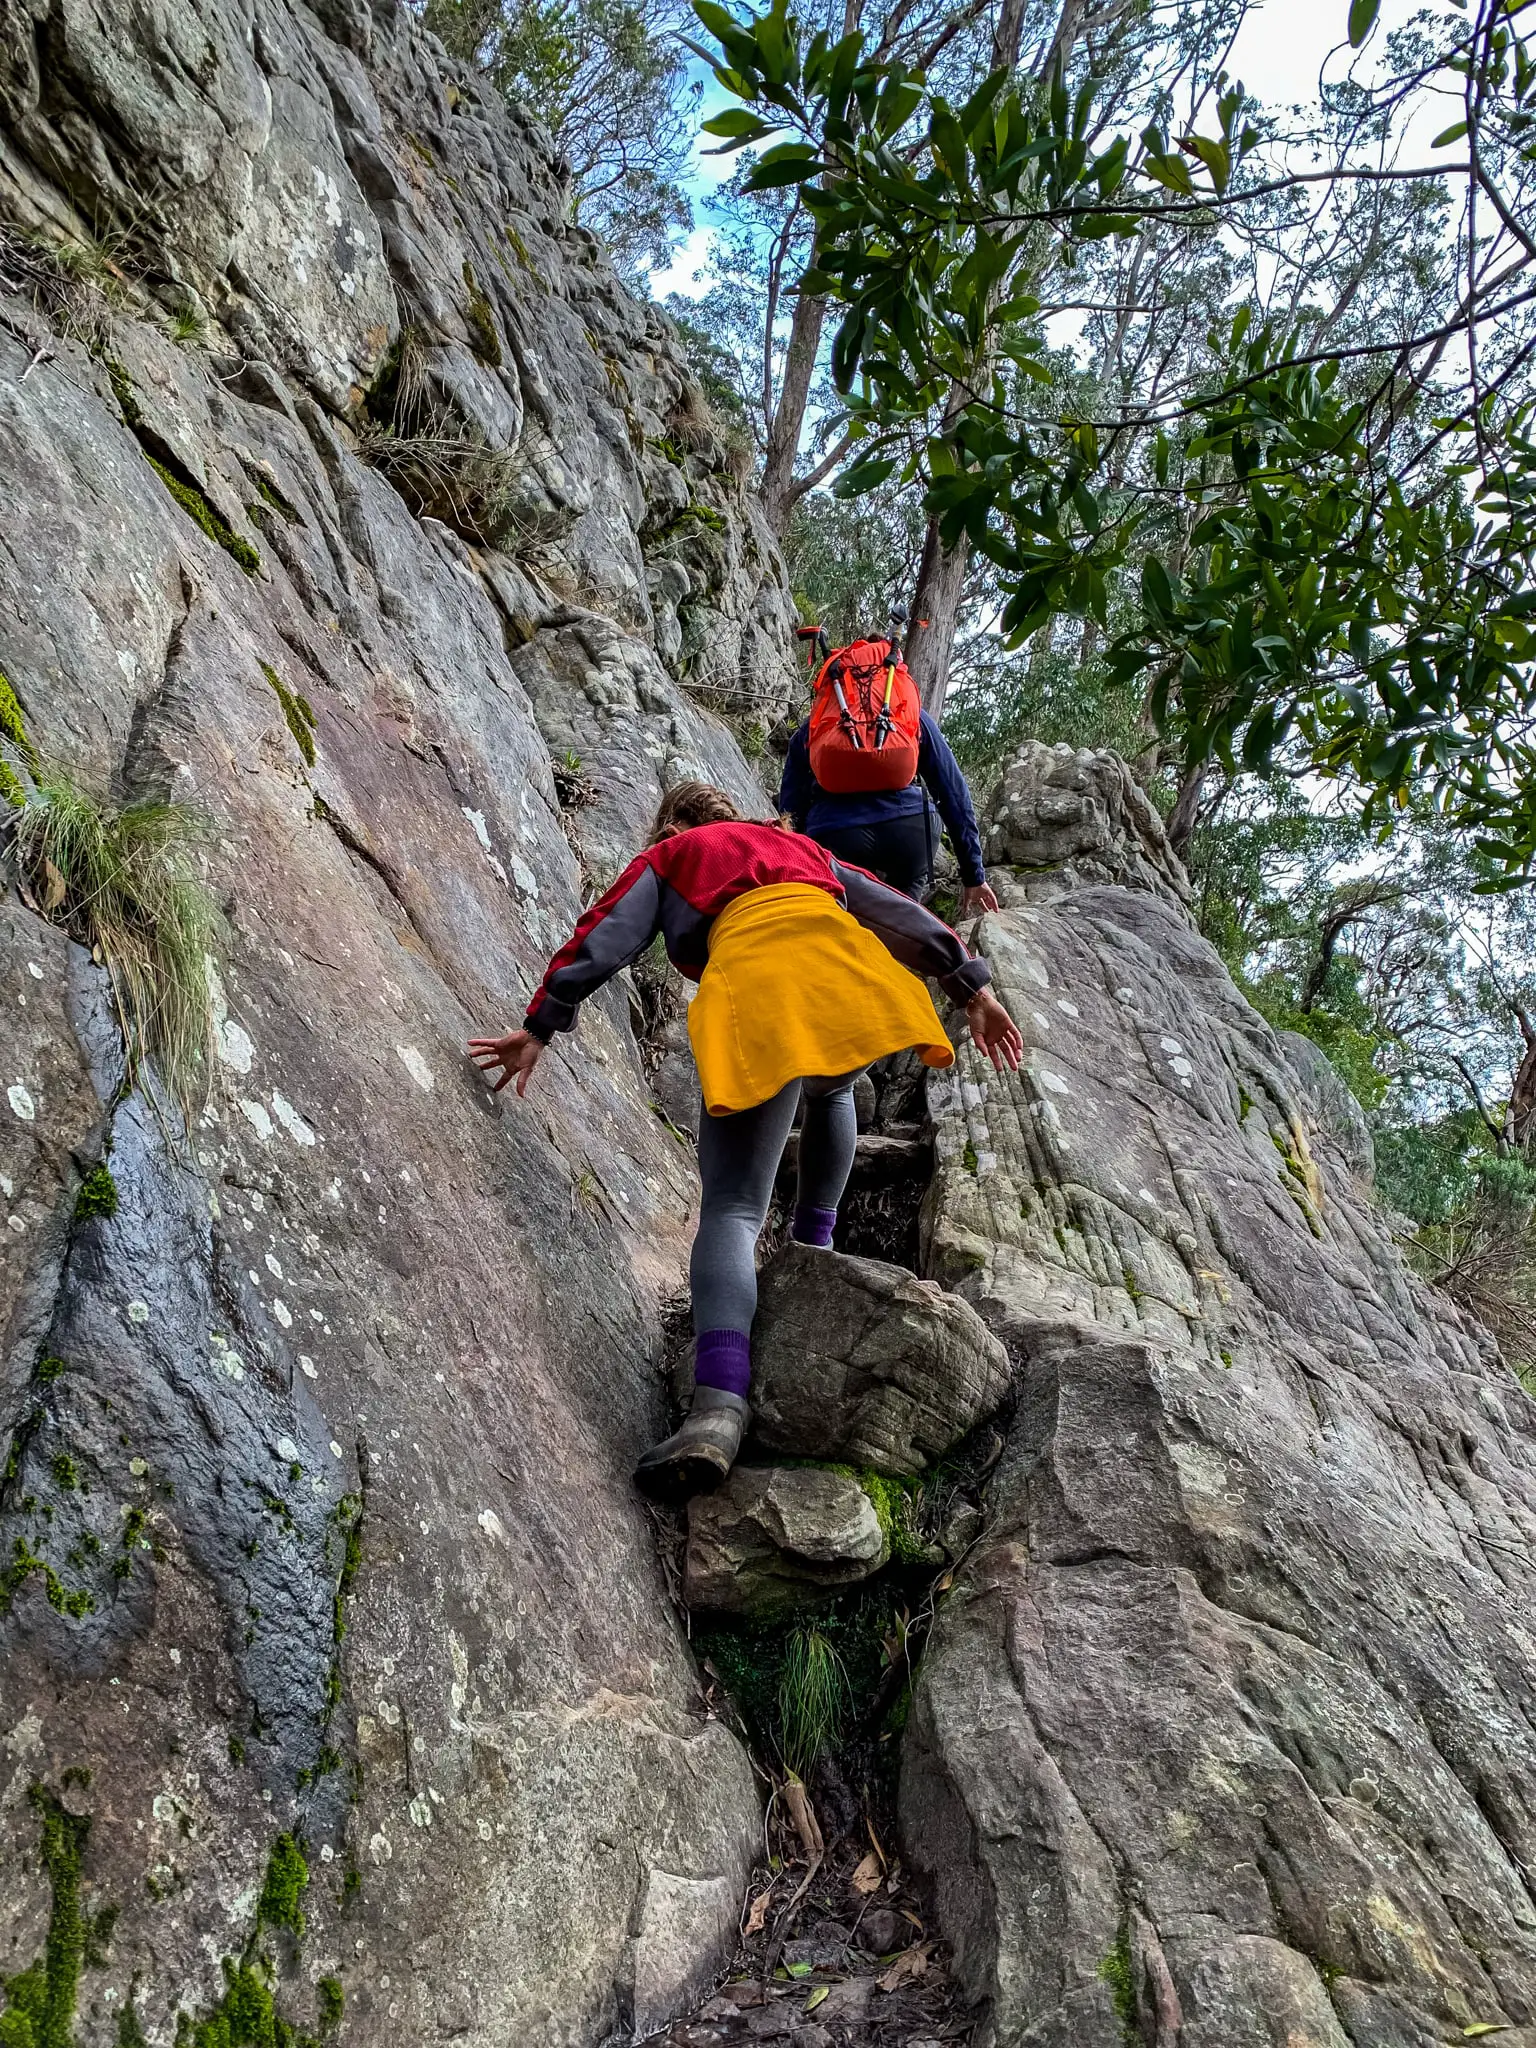
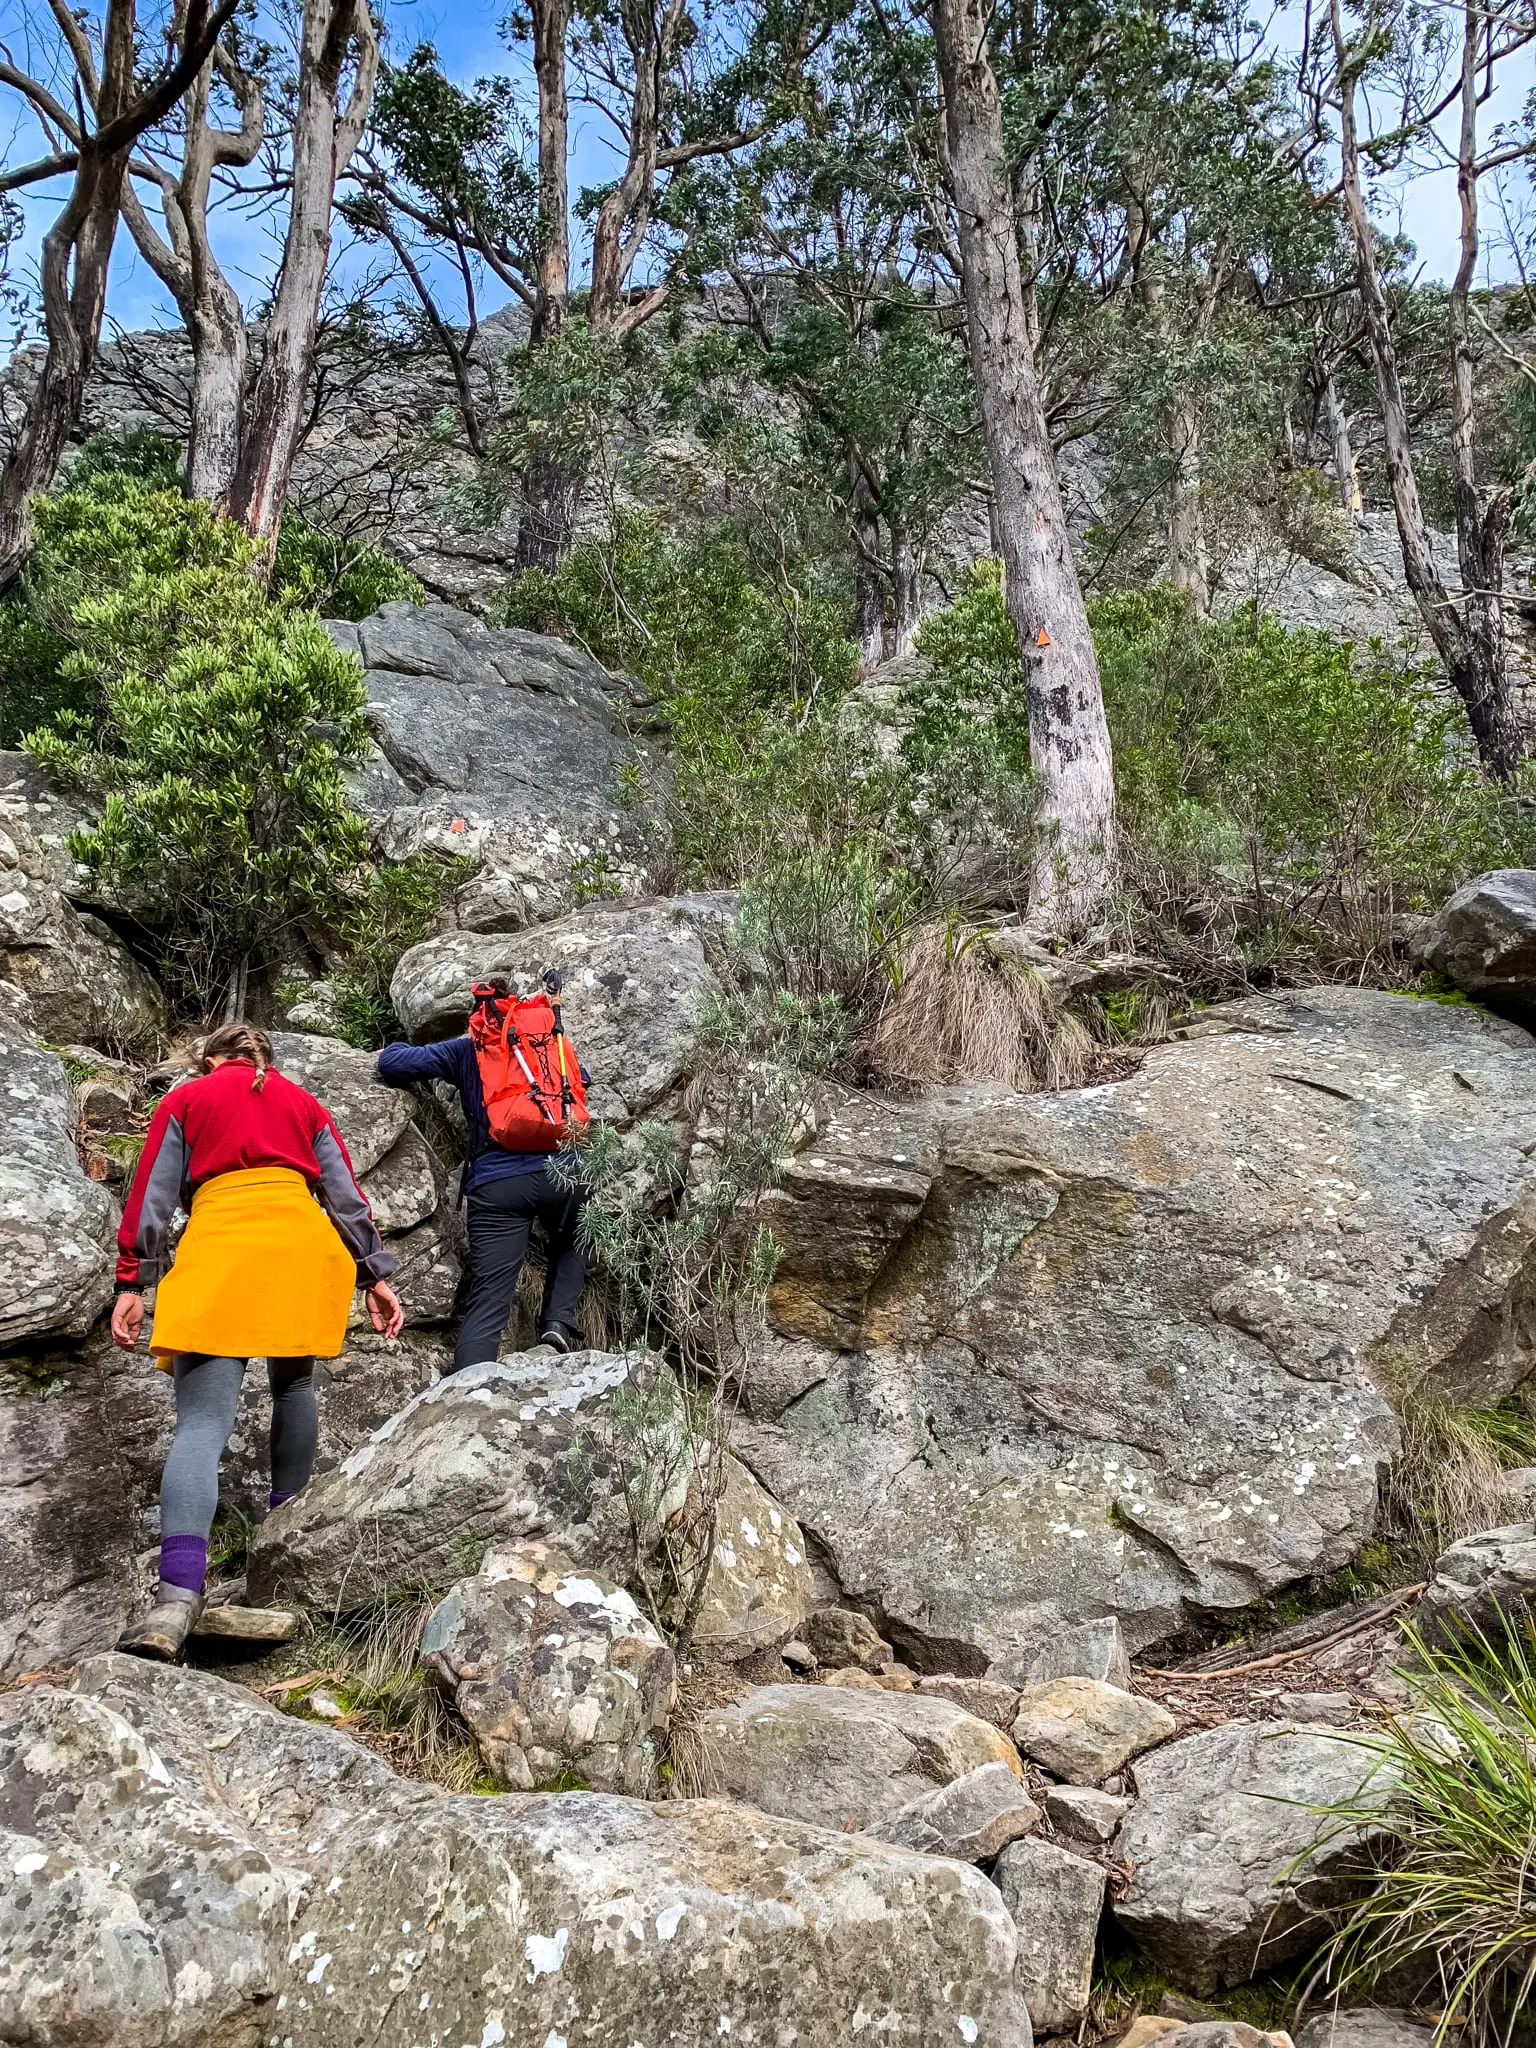
As you’ll constantly be looking for handholds to pull yourself up and steady yourself on this route, make sure you always take a moment to look out for the orange arrows pointing you the way to ensure you stay on track.
It’s not always obvious along the Wells Cave Track which is the correct route up the rocks. However if you don’t see an orange marker after a few minutes, you’ve likely gone the wrong way!
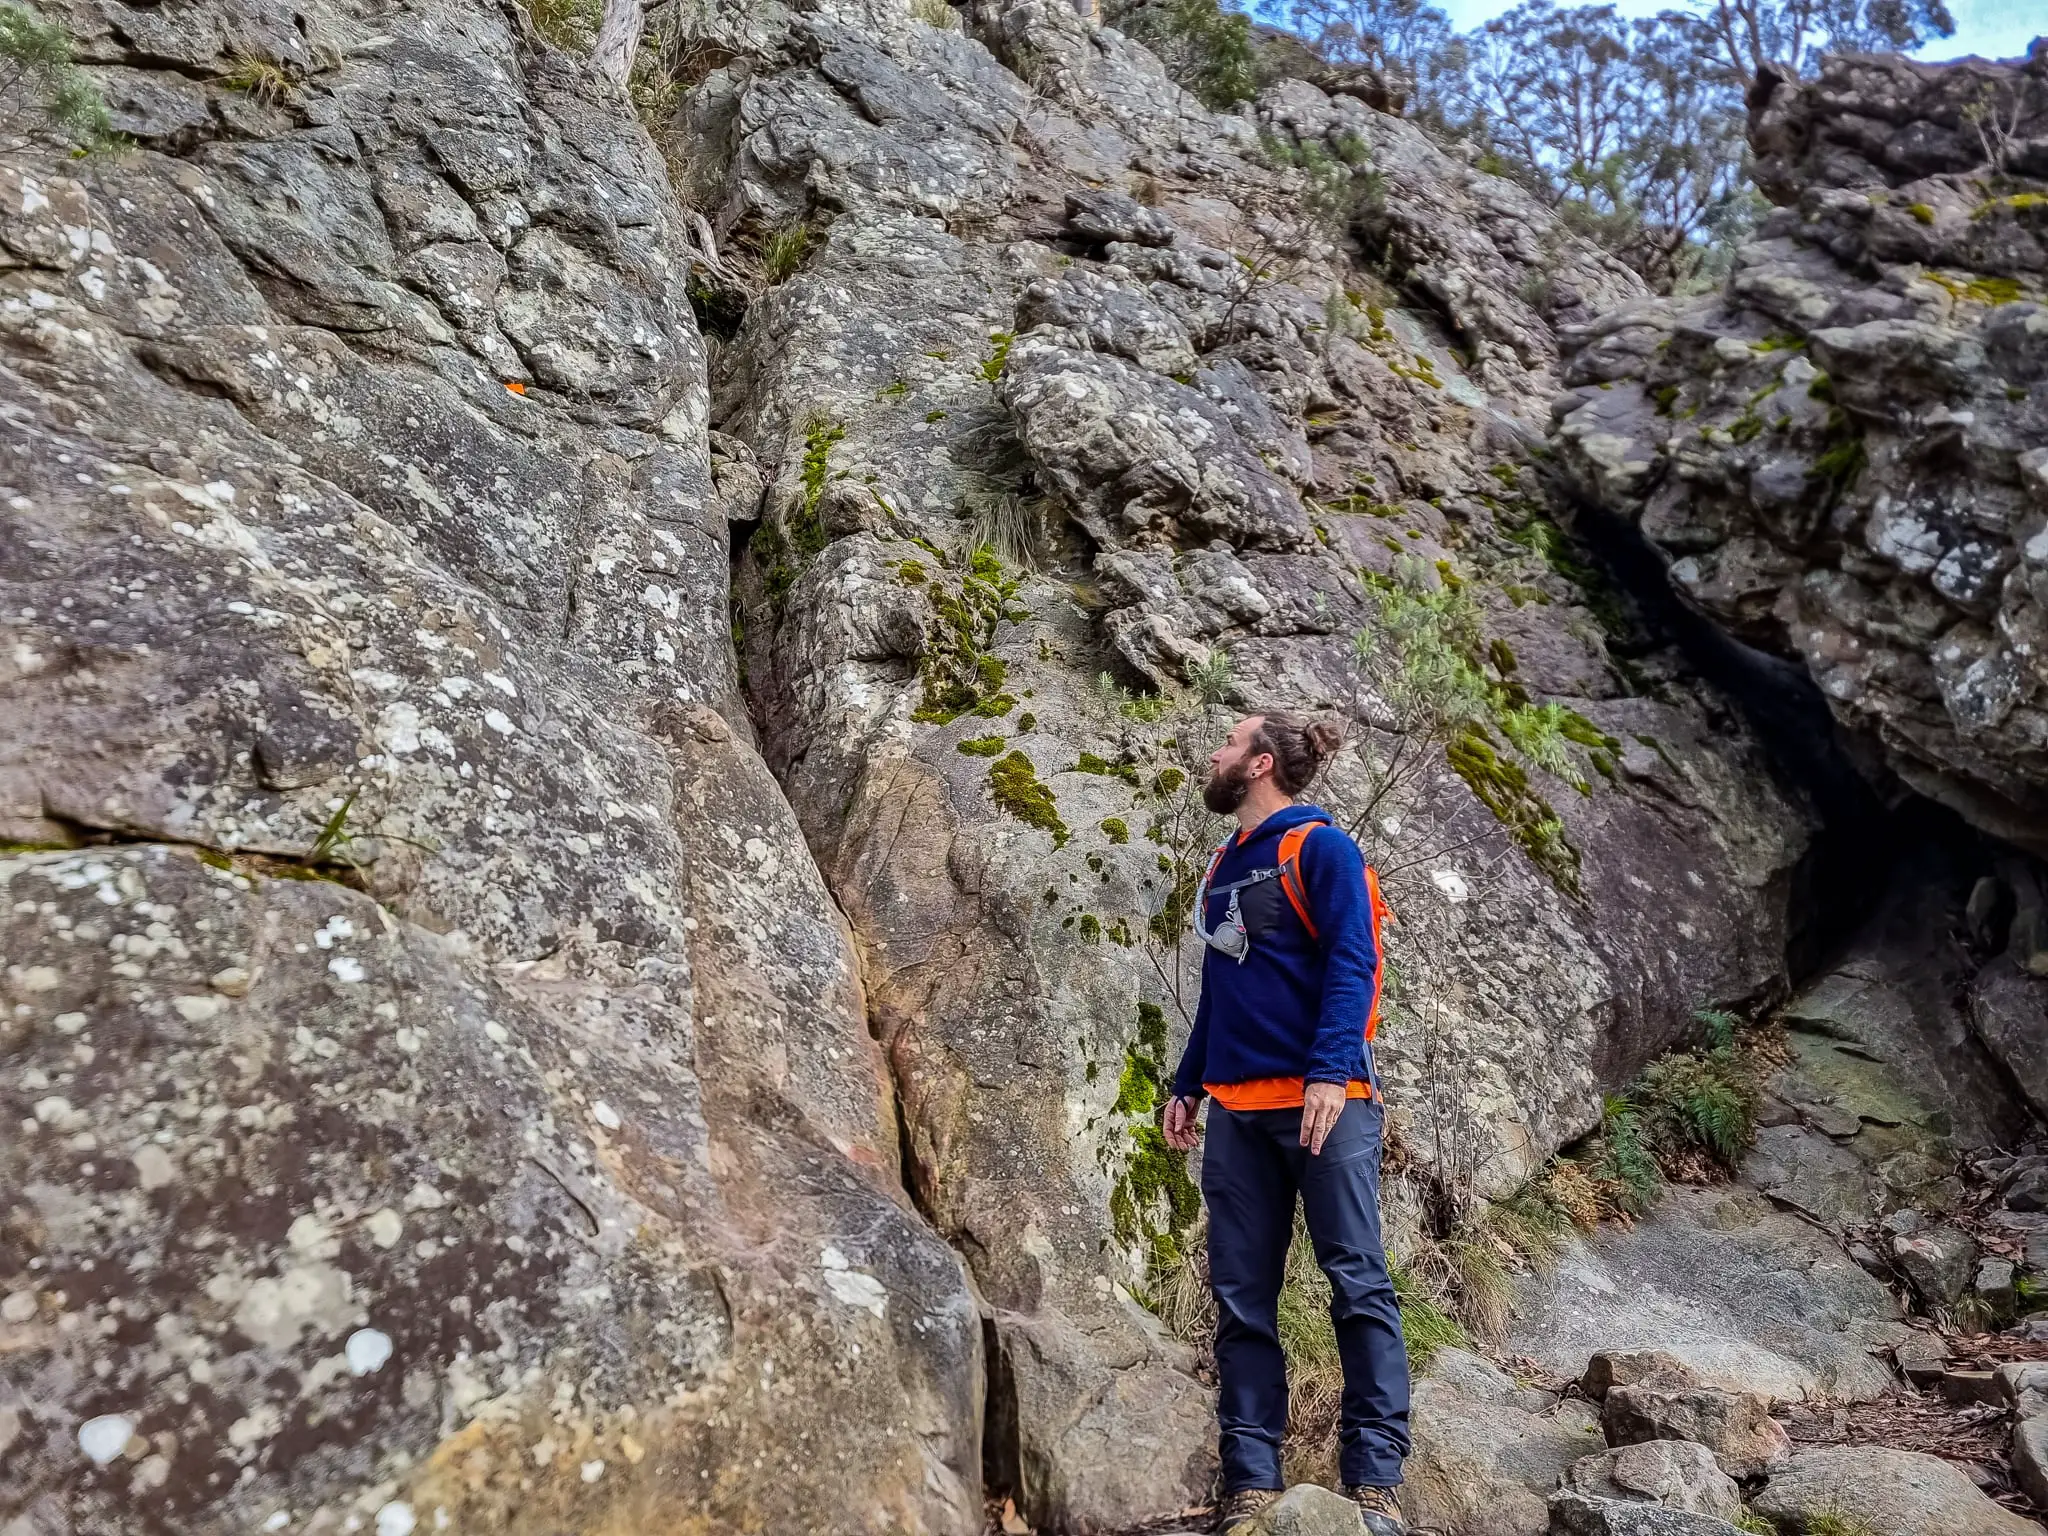
Tackling Wells ‘Cave’
Before you know it you’ll soon reach the namesake of the hike – Wells Cave.
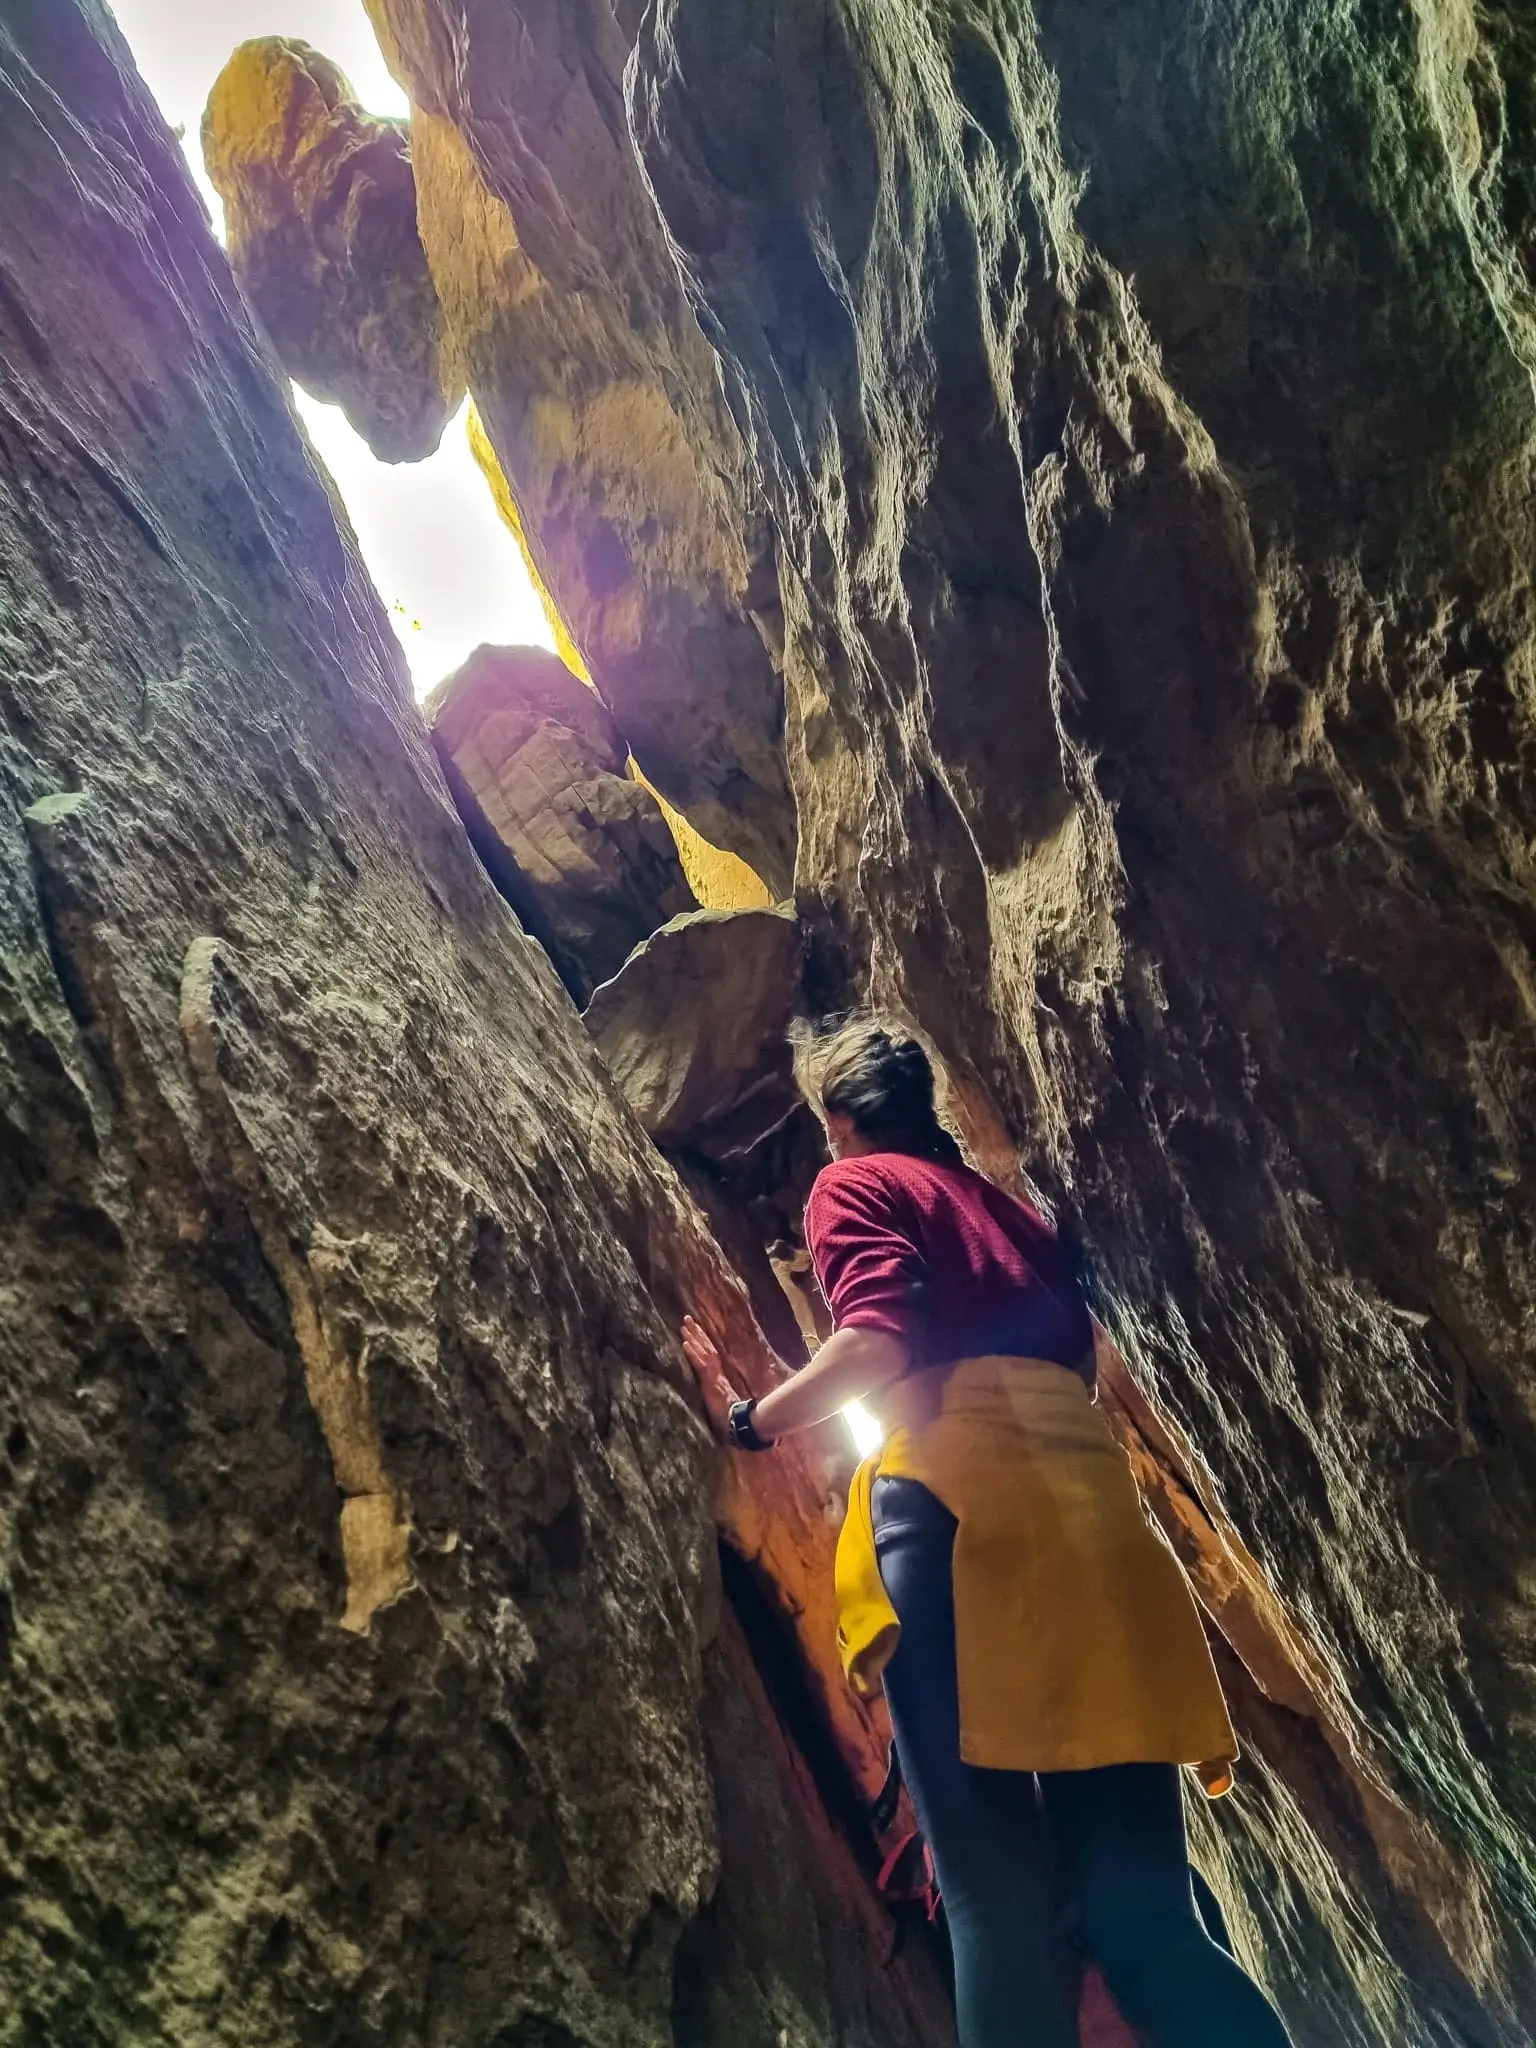
Wells Cave, to my surprise, is not actually a cave at all. It’s more of a very thin and deep slit between two extremely large slabs of rock.
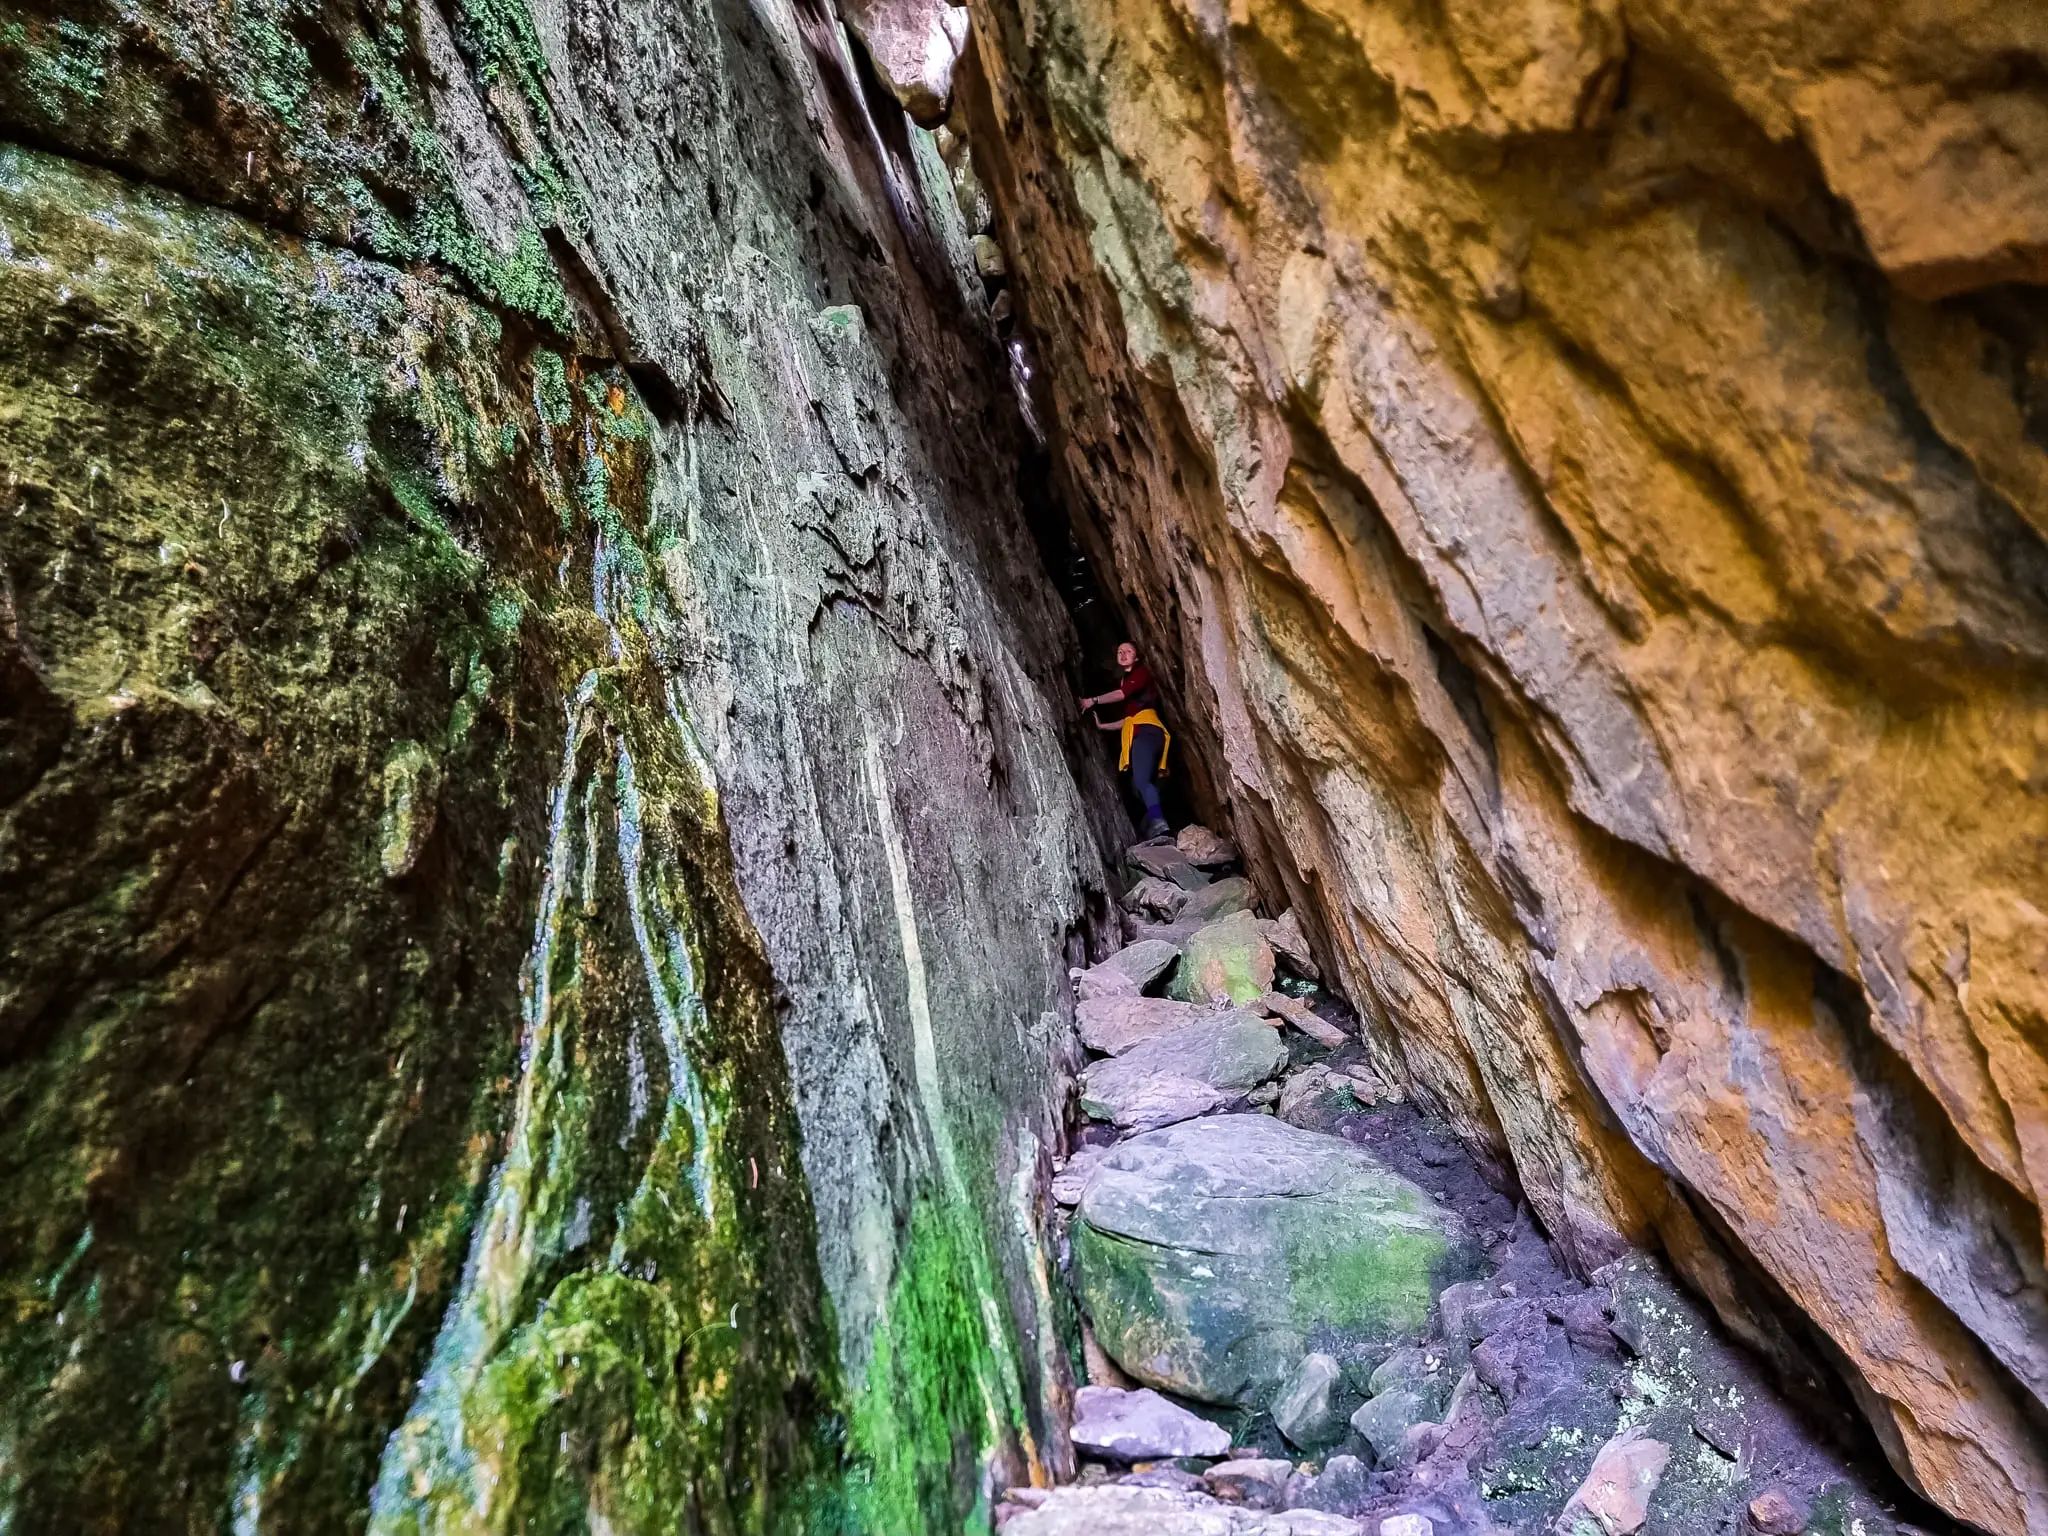
For about 20 metres you’ll have to take off your backpack and slowly side step all the way through. Just ensure you don’t look up at the large boulders wedged right above your head!!
There is one part in particular in Wells Cave that is very tight. Even as a slim 5ft 4in woman, I felt my front and back scraping along either side of the rock faces which is extremely claustrophobic!
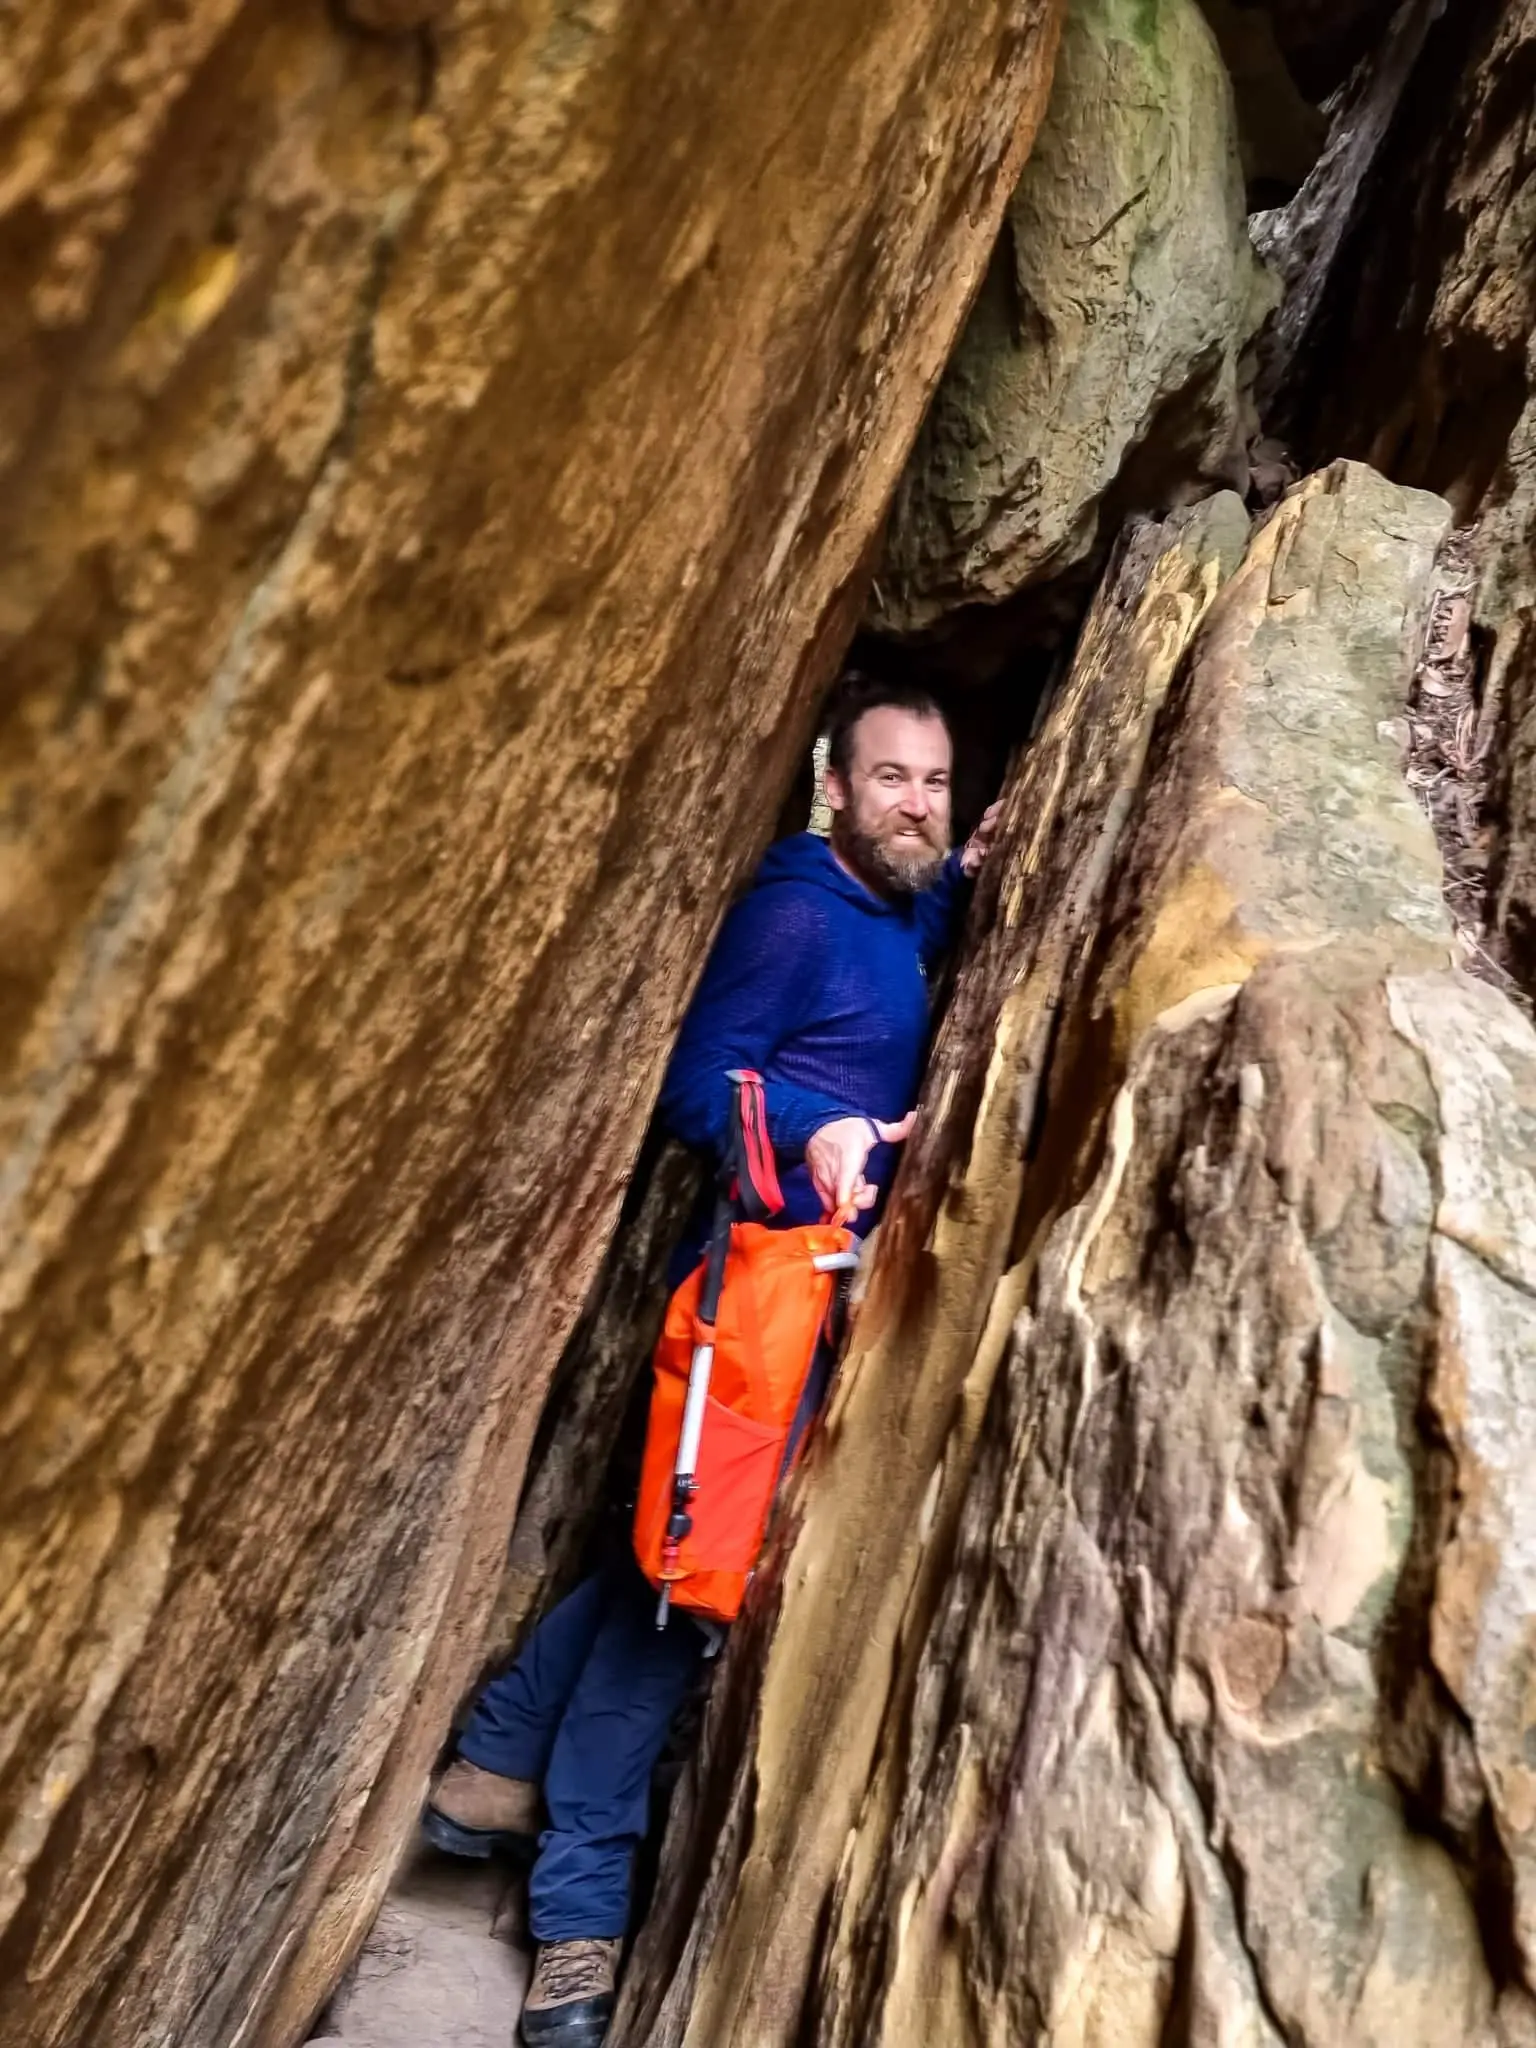
The trick to Wells Cave is to use teamwork (if you have a hiking buddy), to help pass through your packs to one another. Remember to take it slowly and calmly, and enjoy the buzz you’ll get from one of the most thrilling parts (but not the only thrilling part!) of this super fun hike.
Once you’re out of Wells Cave, before your adrenaline gets to settle, you’re faced with another challenge – an orange arrow pointing up a rock face with no clear path or way to ascend! You’ll know it when you get to it!
Ascending the seemingly impossible rock face
Welcome to the bouldering part of the Wells Cave Track!
Because it looks like there’s nothing to hold onto to pull yourself up between the rock faces which will freak many people out, some will attempt to head around the outside to the left here. But please, whatever you do, do not do this! There is literally a sheer, extremely high drop and it gets even harder just out of sight (which you’ll reach only when it’s too late to turn around). It’s the least safest way to go as if you make one tiny misstep you could fall off the cliff face.
Instead, stick to the middle and wedge yourself by placing half your bum on the right rock face and the counter weight of your legs on the left rock face, to push off and slowly bum shuffle/slide up the rockface.
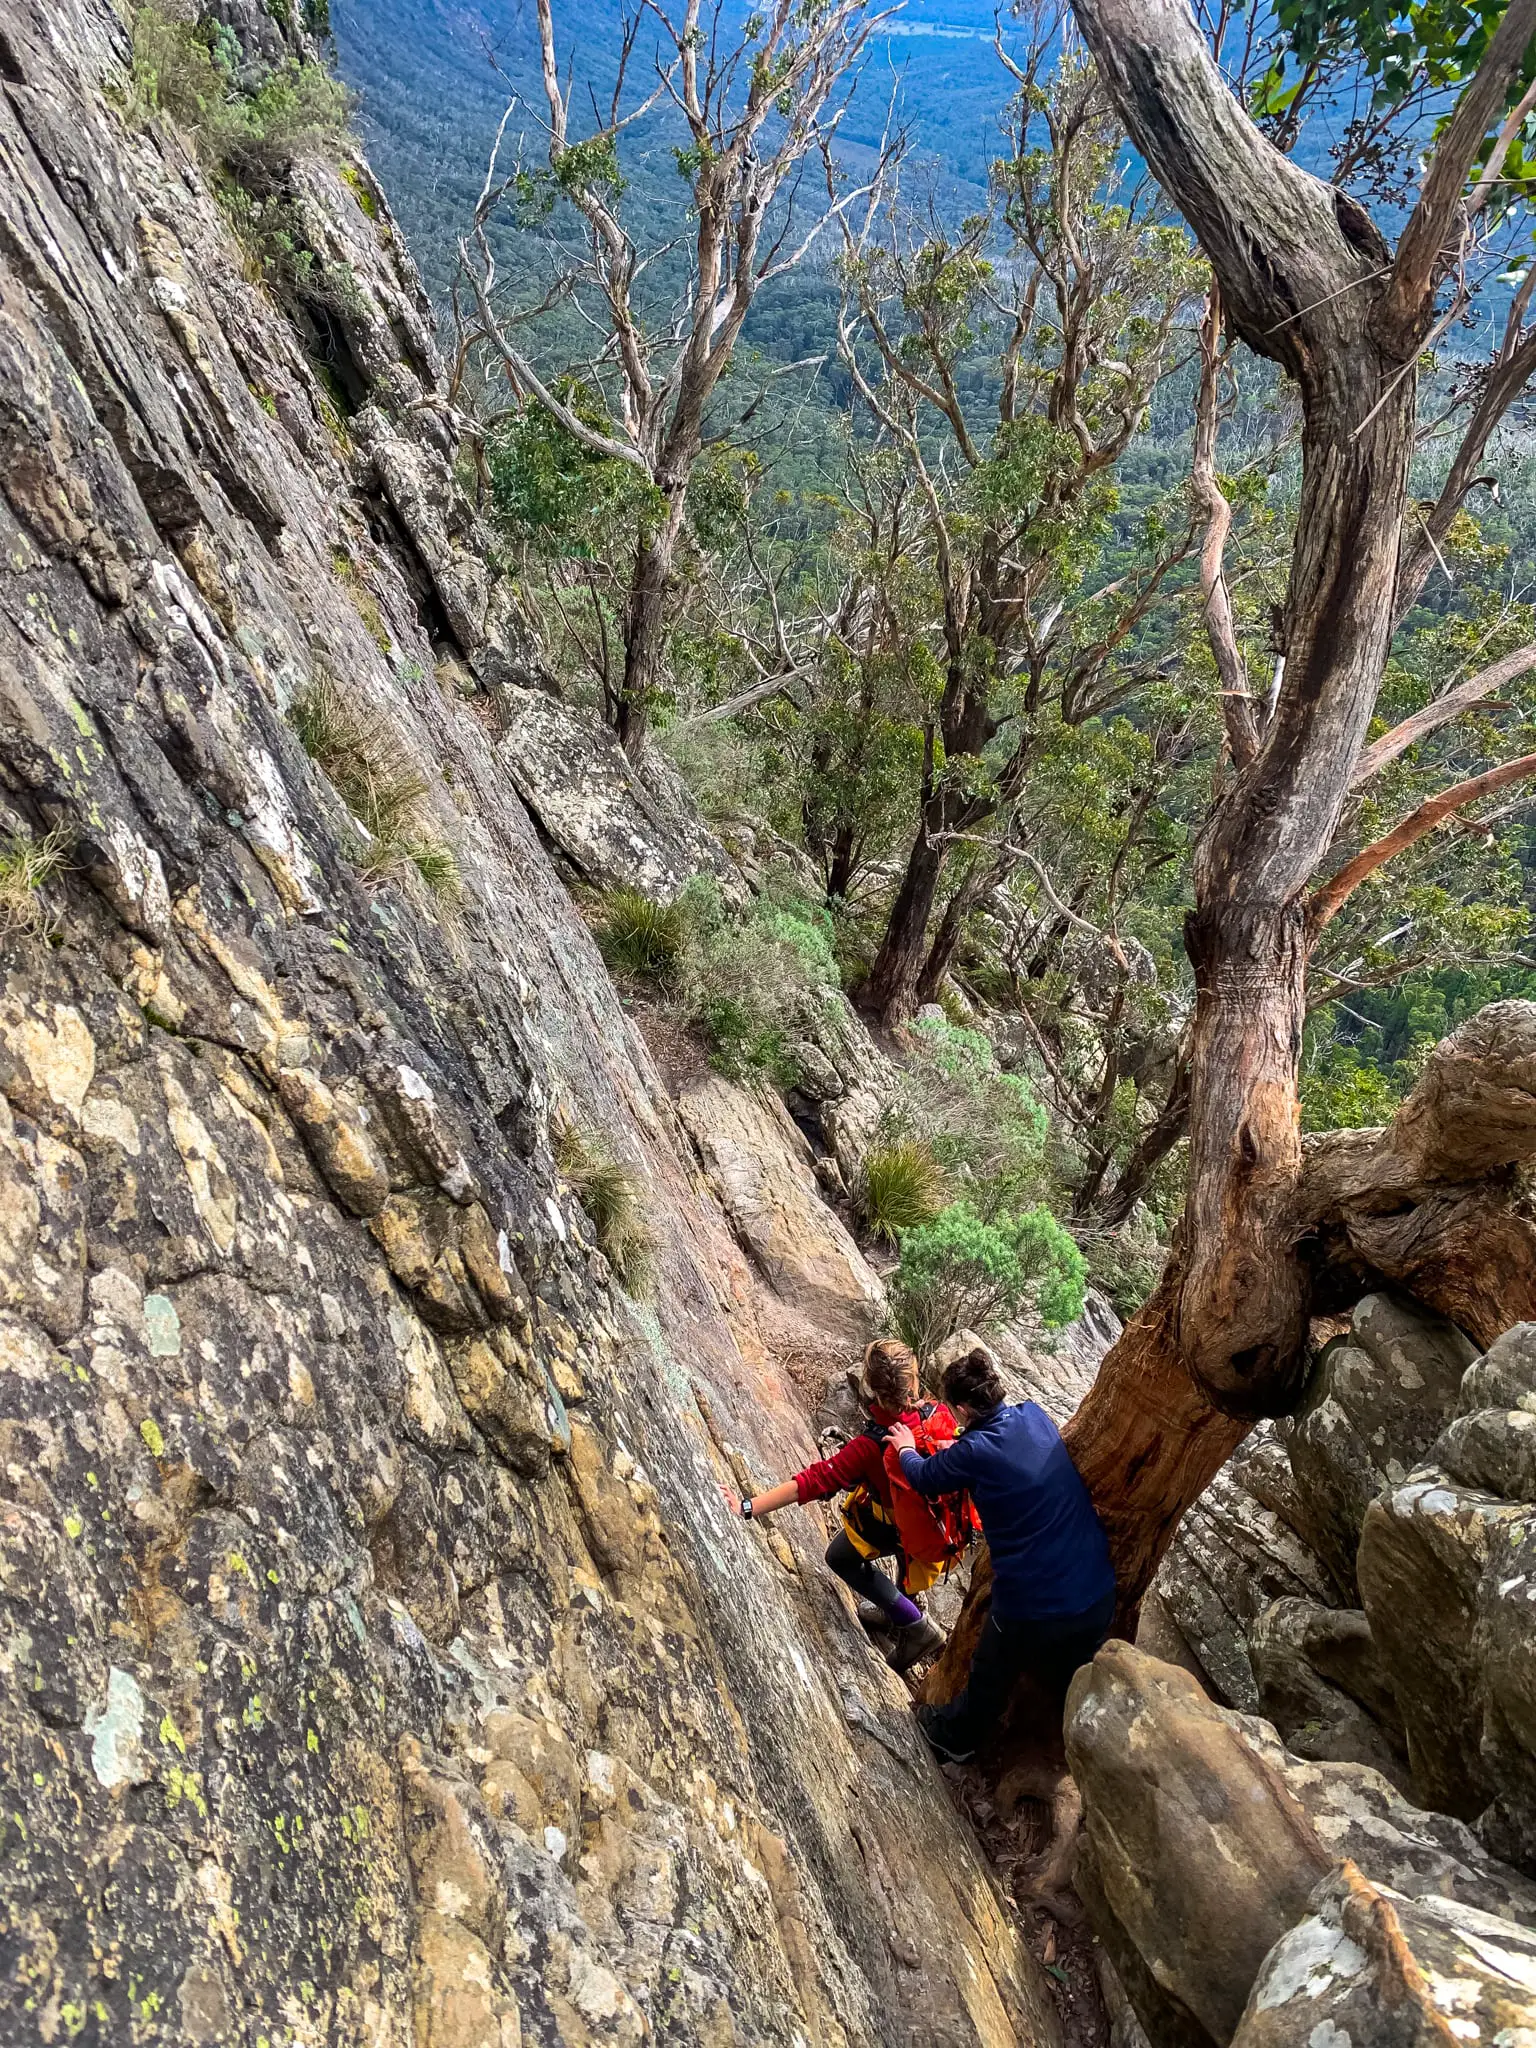
Again, if you’re hiking in a team, it’s worth organising it so a stronger person goes up first to help with packs and lend a helping hand. Some people bring a rope for this part to pull backpacks up, as it’s extremely difficult to ascend with them on. I certainly had to take mine off and pass it up!
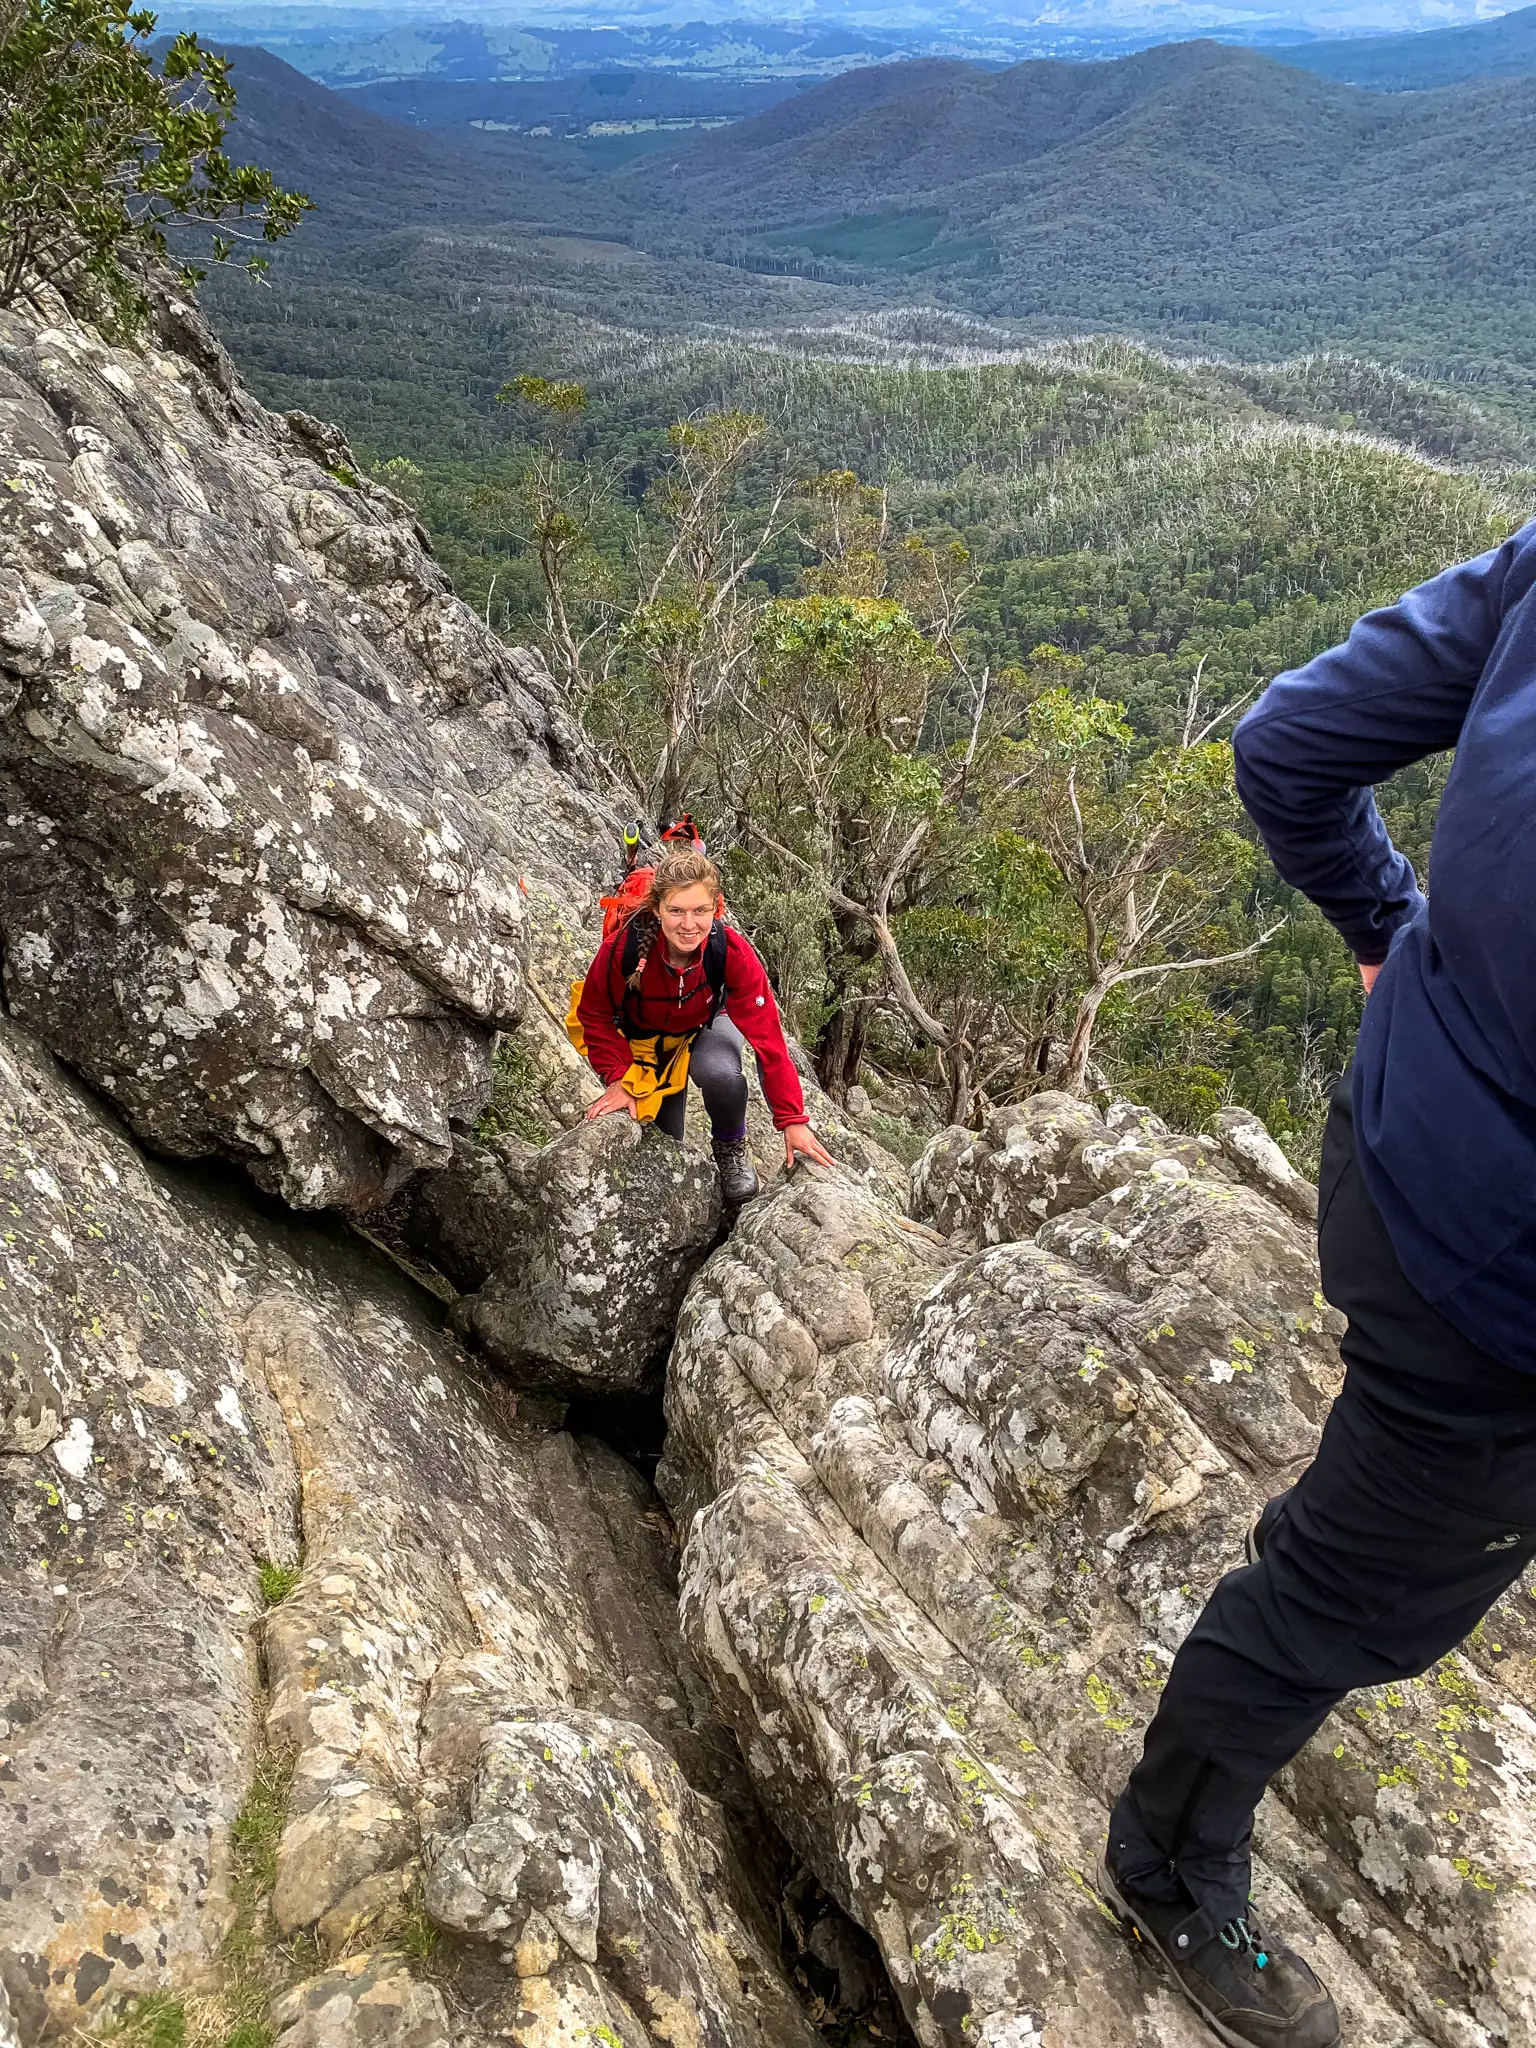
Once you’ve mastered the hardest part of the walk, you’ll only have a little bit of scrambling left – including up a small ladder – to reach the pinnacle, the top of Sugarloaf Peak.
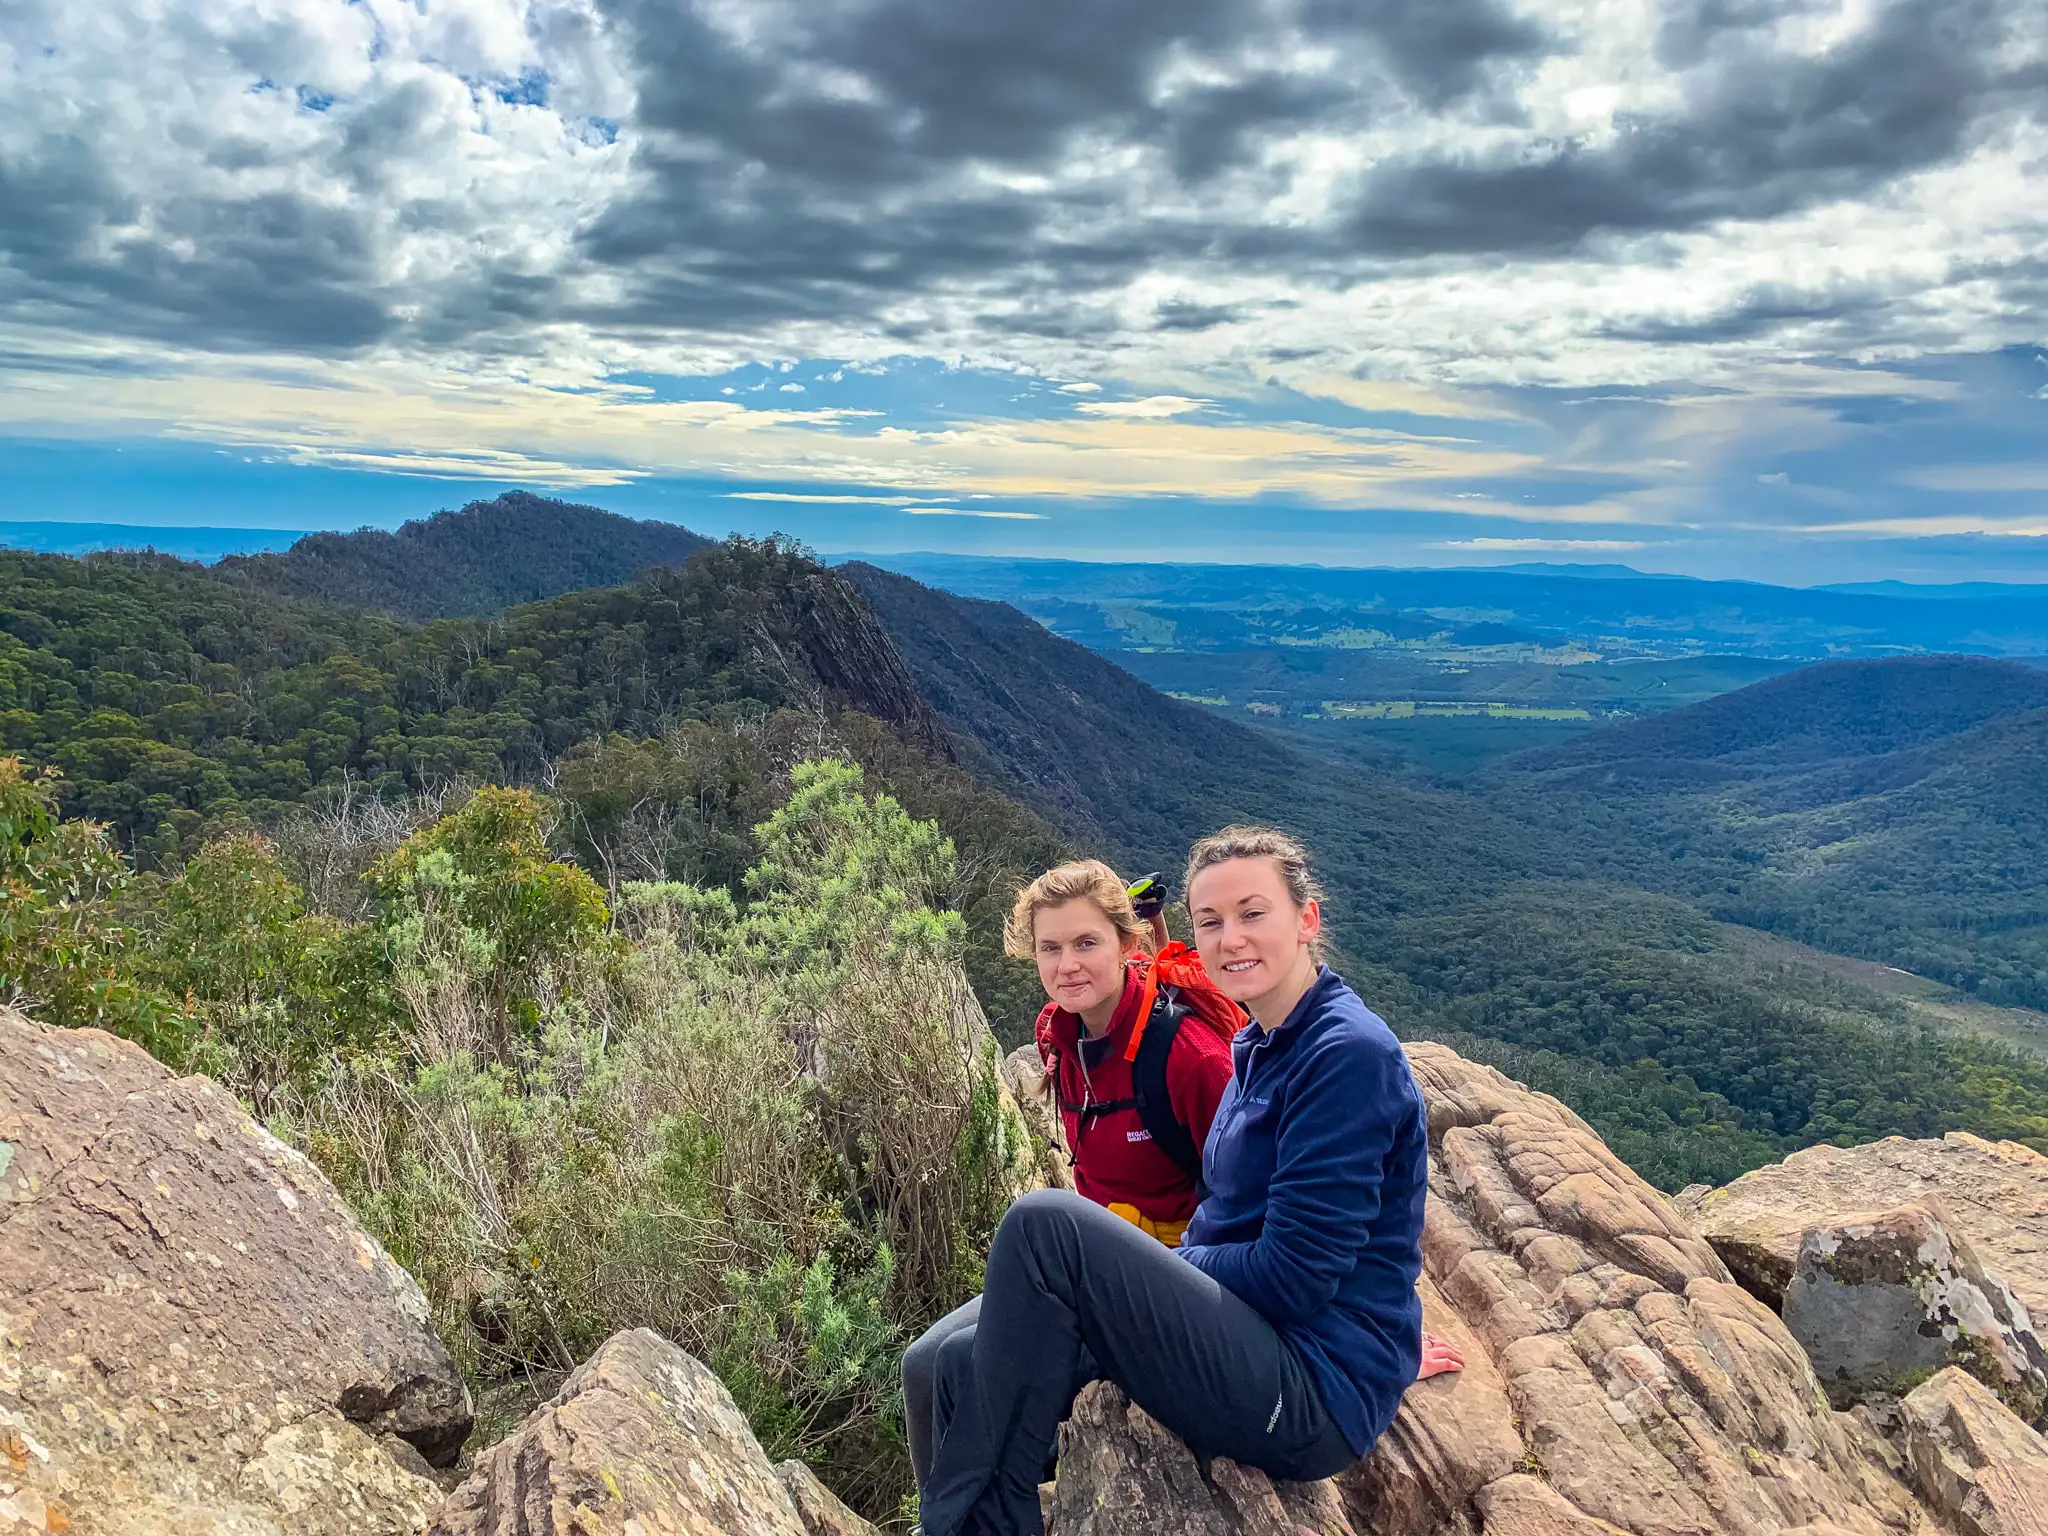
Sugarloaf Peak & the Razorback
Standing at 920 metres high, Sugarloaf Peak provides fantastic panoramic views all across the Ranges and valleys, including down to where you’ve come from. You’ll definitely feel a sense of achievement after such an intense scramble!
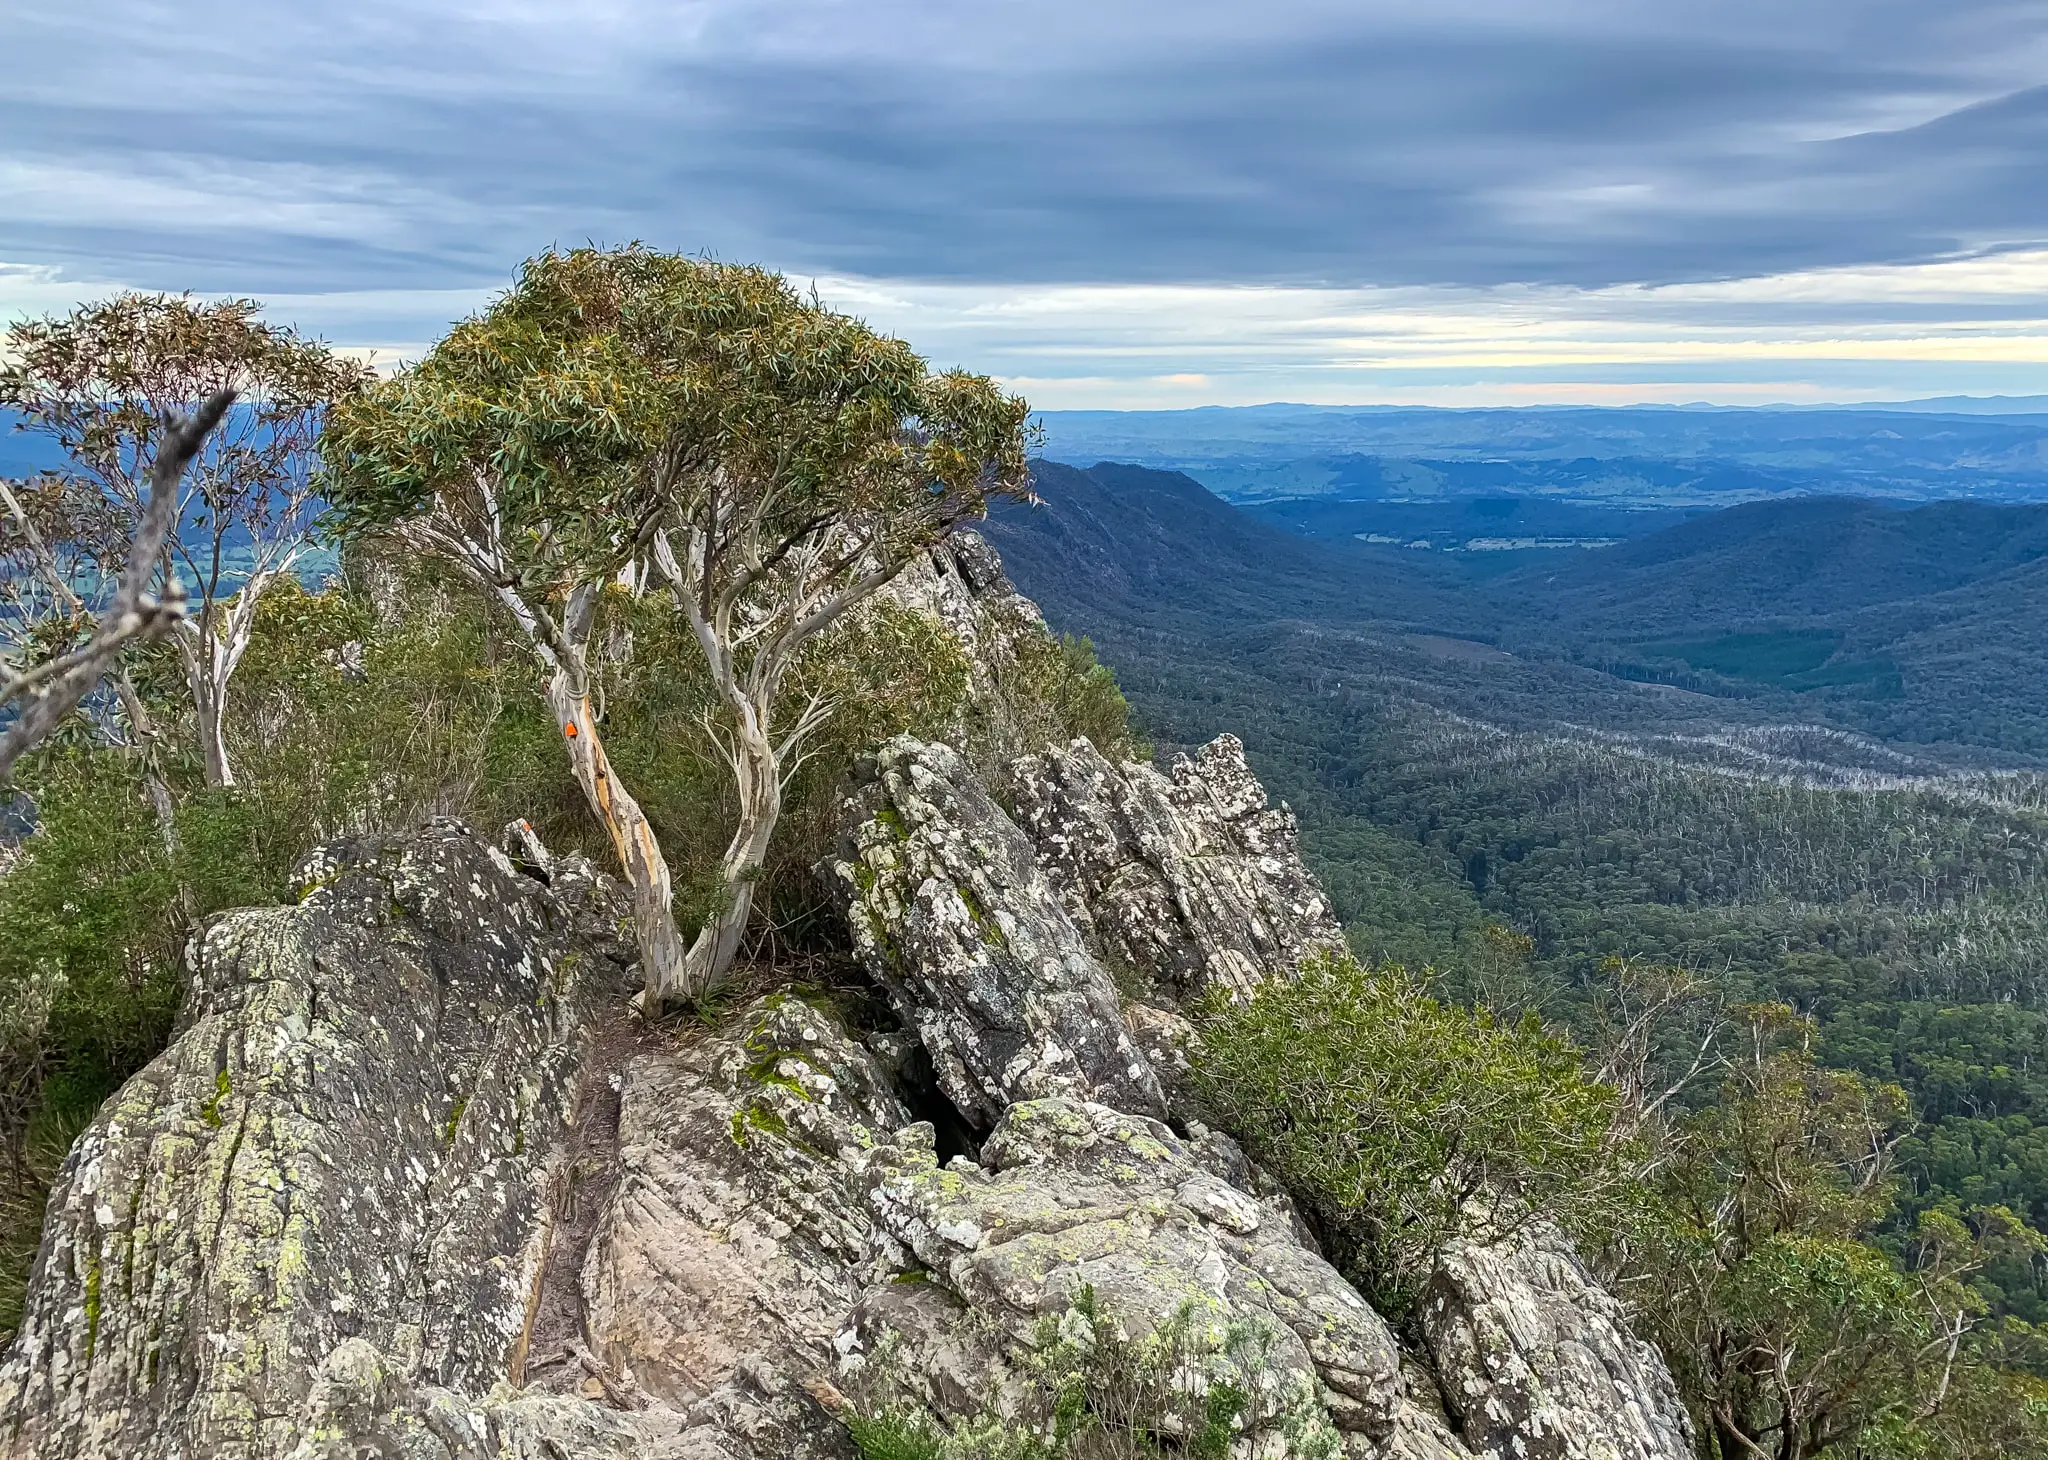
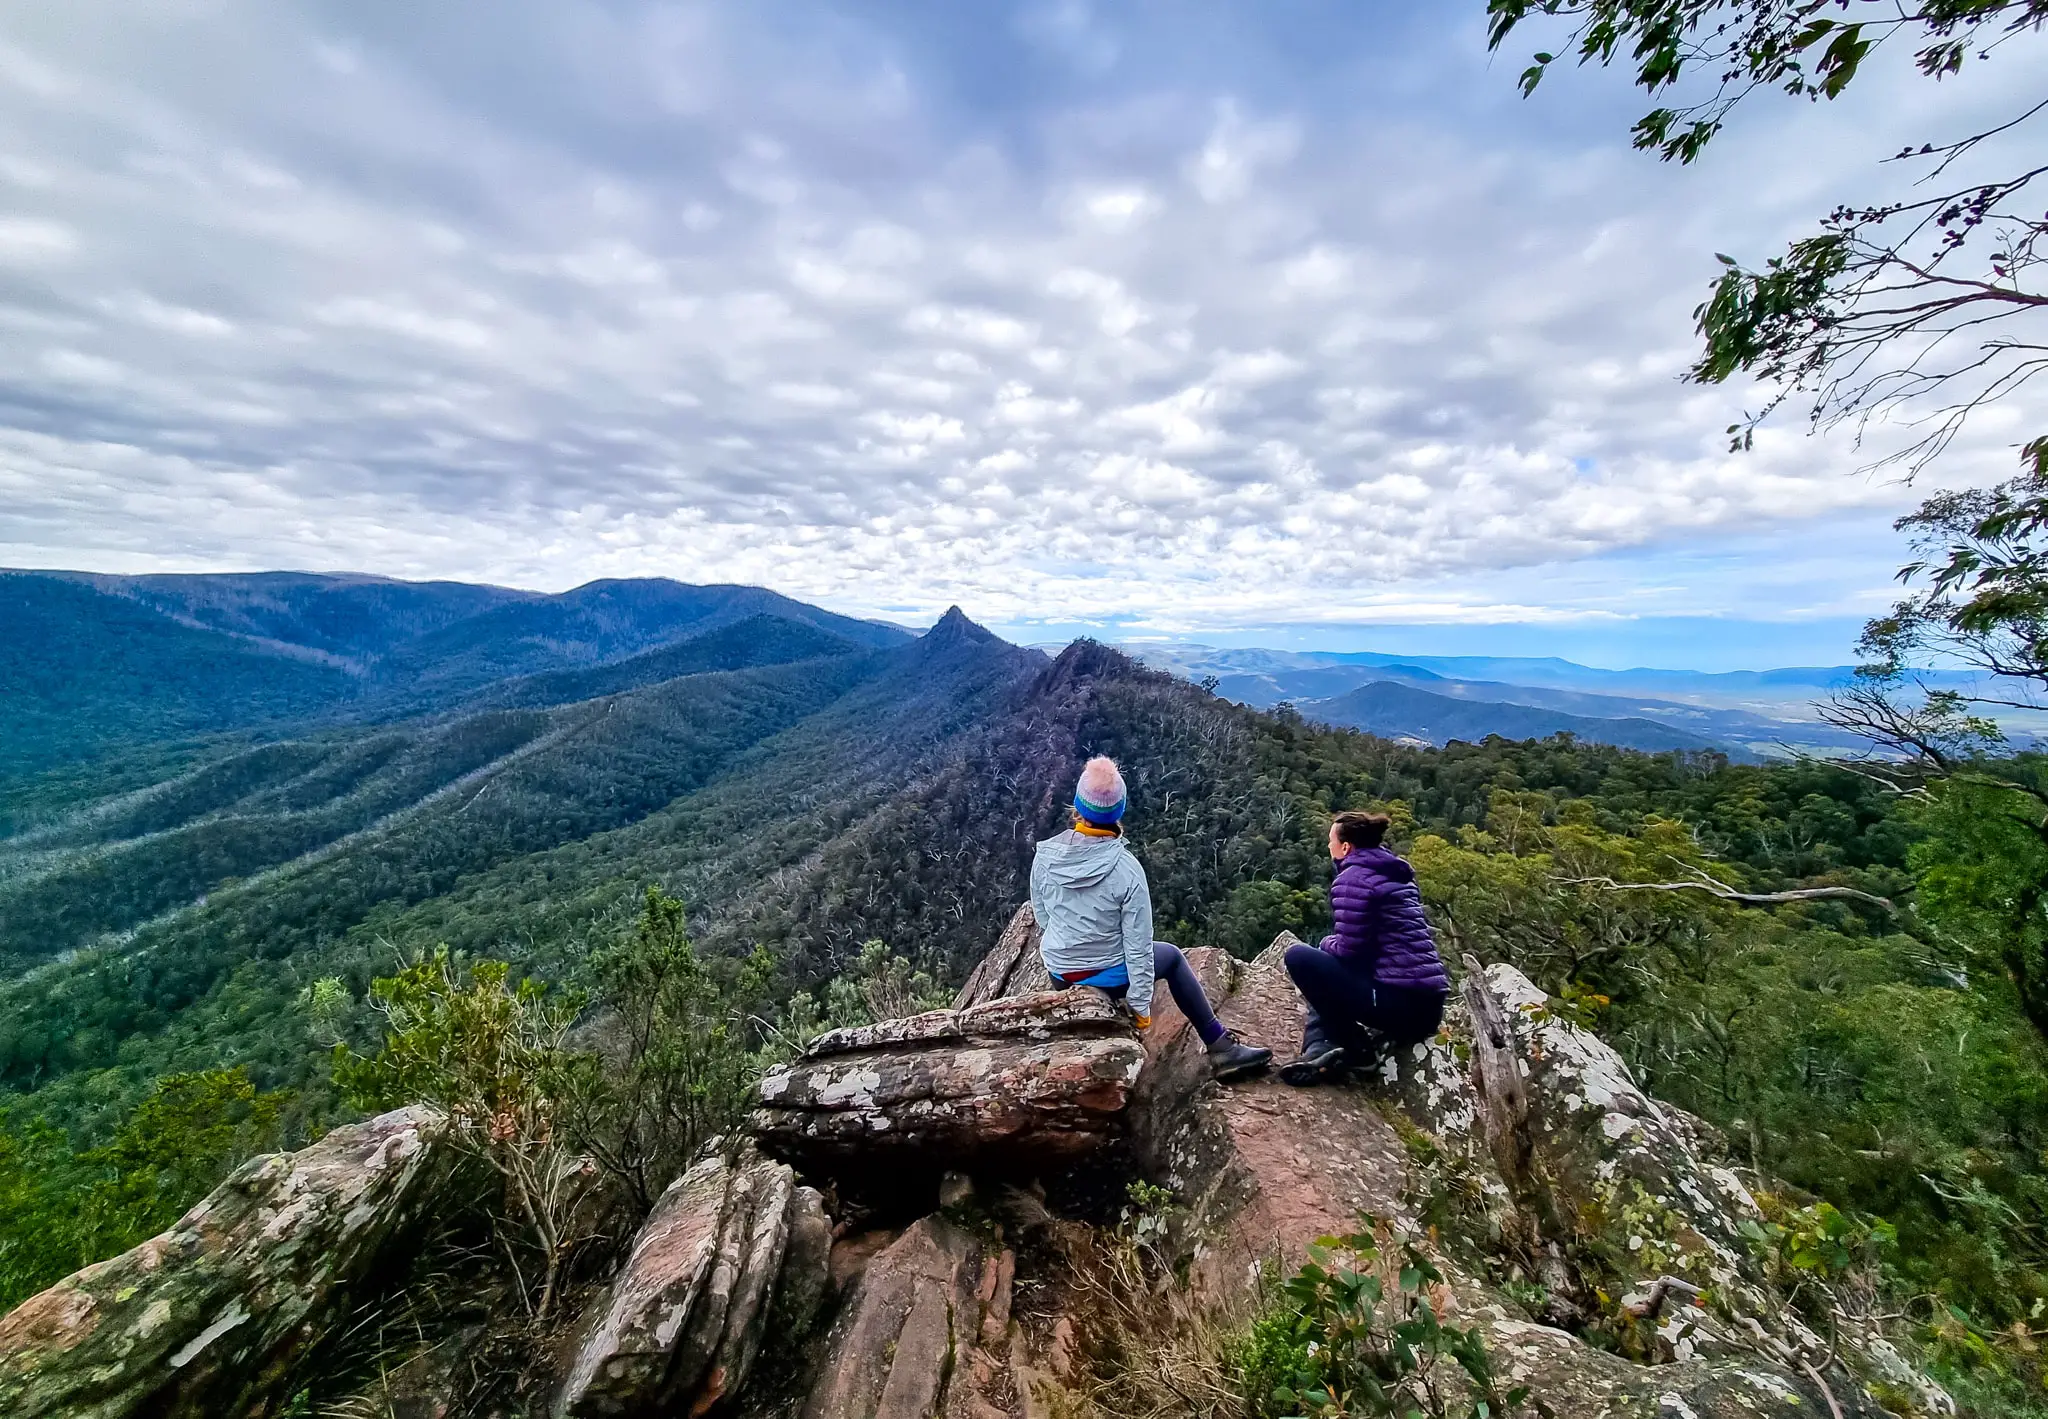
Once you’ve taken it all in and had a good rest (you’ll need it!), it’s time to walk along the ridge on the Razorback track, mainly scrambling down along the exposed and rocky ridge. Again, make sure you always keep an eye out for the orange triangle markers to guide you the right way.
Although you’re always having to look down to ensure you place good footing, don’t forget to look up every now and again to enjoy the stunning scenic and exposed views! You really do feel on top of the world as you walk along the spine of the mountain.
Before you know it you’ll reach the open grassy clearing of the Farmyard, a free camping area for walk-in hikers who want to sleep on the mountain.
South Jawbone Peak
If you have the energy, you can immediately turn right at the Farmyard and walk up the track to the South Jawbone Peak. It’s optional, but highly recommended.
The South Jawbone Track is a very short and easy 300m out-and-back footpath which should take you about 15 minutes to walk each way. After all you’ve done, an extra 600 metres isn’t really much at all, and the views are well worth it!
Either Jawbone is a great place to stop for lunch too if you started early. Or, at least to sit with a drink and a snack! Make sure you identify the North Jawbone directly opposite you at the other end of the mountain range.
North Jawbone Peak
Once you’re done at the South Jawbone, head back to the Farmyard and walk through the campground, passing through a second grassy clearing for pitching tents. At the end of the path you’ll reach a junction with a sign. You can turn left for the North Jawbone, or right to go down back to the car.
From the Farmyard, the North Jawbone is about an extra 1km each way, which should take you about 40 minutes for the whole out-and-back journey.
Again, I would highly encourage you to head to the North Jawbone Peak too whilst you’re here. I think it has the best view as it looks across to not only South Jawbone but also Sugarloaf Peak and the Razorback. It basically rounds up an epic hike with an extra dose of appreciation, and offers a fantastic backdrop for photos before you go.
I’ve been to both Jawbones on multiple occasions, and the North Jawbone Peak is by far my favourite, especially to sit and have lunch to take it all in.
The descent – the home stretch!
Regardless of whether you did the North Jawbone or not, head down the Jawbone Creek Track, back towards the Jawbone car park.
The 30 minute tranquil woodland walk meanders alongside the creek that tricks into mini waterfalls along the way. You’ll likely be buzzing with adrenaline and not take much notice of the ‘plainer’ surroundings having being so spoilt, but a properly formed path past mossy fern trees and under gum trees is a pleasant way to end the walk.
As soon as you see a set of wooden stairs going up, you know you’re at your car, which I’m sure will be a great relief after such an action-packed day!
The Sugarloaf Peak via Wells Cave Track with the North and South Jawbones is one of my favourite hikes in Victoria as it’s simply so memorable and iconic! It really is an outdoor adventure in Australia like no other! So if you’re an experienced walker and fancy pushing yourself, I’d highly recommend giving it a go!
Hiking essentials:
As with any hike in Victoria, and especially this one, you must always go with a good comprehension of the route and be prepared with the right gear.
A few hiking essentials for Sugarloaf Peak via the Wells Cave Track are:
- Great walking boots: I recommend Manfen Walking Boots with ankle support. Ultra grippy hiking boots will pay off big time for all the rock climbing you’ll have to do.
- A small day pack: I recommend Osprey Daylite Plus 20L. A small pack is best as you’re required to squeeze through tight spaces and you’ll also need to put it on and off regularly. A small day pack sufficient for your essentials plus at least 2 litres of water but nothing bigger, is ideal.
- A GPS device/Map: You should always take a GPS navigation device such as a Garmin In Reach when you hit the trails, or at least a map of the area you are walking.
- First Aid Kit (+Blister plasters): a first aid kit is a no-brainer. Make sure you add in multi-size blister plasters as this would be an utterly miserable walk if your shoes rub
- Snake bite kit: In spring and summer always bring a snake bite kit hiking – and know how to use it! The rocks here are prime hideouts for snakes. I also wear shin gaiters over by boots for added leg protection.
- Windproof rain jacket: Sugarloaf Peak and much of the Razorback is extremely exposed. You should bring a rain jacket that’s also windproof to cut some of the chill.
- 2+ litres of water: in summer you’ll likely need more than 2 litres of water as you’ll be sweating a lot but in winter/autumn, 2 litres will do. I prefer having a water bladder with a hose in my pack, as opposed to carrying heavy bottles.
- High-energy snacks: I recommend delicious Cliff Bars (Cool Mint Chocolate and Chocolate Brownie flavours are my favourite!). This is a physically demanding hike so high energy snacks like nut bars, trail mix or Cliff Bars are highly recommended to graze on throughout.
Interested to know about some more great hikes in Australia? Check out my other hiking posts:
- An Overnight Hike Up Victoria’s Highest Mountain, Mount Bogong
- The Top Hikes Across Australia
- Travel Bloggers Reveal Their Favourite Places In Australia
Heading to Victoria soon? Don’t forget these essentials!
Flights: compare and search for the cheapest flights using Skyscanner
Accommodation: hotels to hostels, glamping to apartments, I always use Booking.com
Tours: to find the best group tours and activities worldwide (with up to 20% off), use Viator
Guide books: Lonely Planet’s guide to Australia or Lonely Planet’s guide to Melbourne and Victoria
Visa: don’t forget to check the entry requirements for the passport you are travelling with
Inspiration: to kick-start your next adventure, how about Lonely Planet’s Guide to the World?
Yikes, that is quite a hike. I think my claustrophobia would be kicking in for some of those sections.
That sounds both crazy and awesome. I can’t definitely see how it shows off the rugged part of Victoria! What a great adventure for you and your sister.
Looks like so much fun! That narrow stretch would make me uneasy, especially with those overhead boulder. But I would do it for the views. Thanks for providing a thorough guide. Awesome!
Sugarloaf Peak via Wells Cave Track looks like a challenging and rewarding hike for experienced hikers! Great guide to help manage expectations…and great photos.
Sugarloaf Peak looks like such an amazing hike! I love a good challenge, so I think I would enjoy this hike. Thanks for sharing!